General Information
- Previous: Shaded Woods
- Next: Brightstone Cove Tseldora
- Recommended Levels: 80 to 90
- Bosses: Royal Rat Authority
- Bonfires: Gyrm's Respite, Ordeal's End
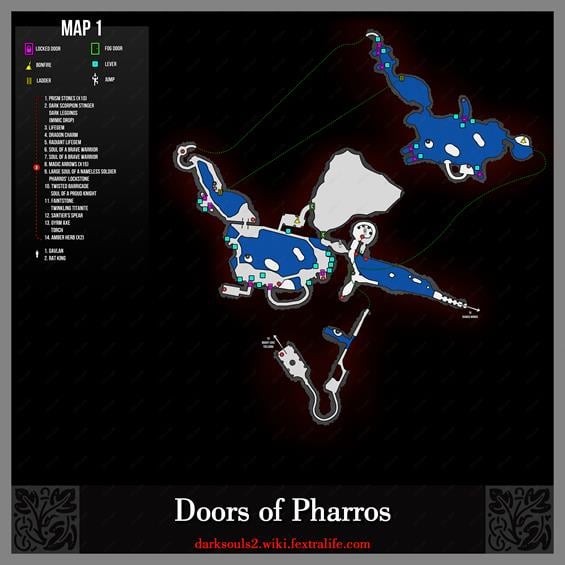
Doors of Pharros Map
NPCs in the Doors of Pharros
Items
Consumables- Amber Herb x 2
- Twisted Barricade
- Soul of a Proud Knight
- Titanite Chunk (trapped chest)
- Petrified Dragon Bone (trapped chest)
- Pharros Lockstone
- Large Soul of a Nameless Soldier
- Large Soul of a Brave Warrior
- Torch
- Rat tail
- Life Gem
- Dragon Charm
- Radiant Lifegem
- Prism Stone
- Twinkling Titanite
- Faintstone
- Santier's Spear (use lockstone in water)
- Gyrm Axe
- Gyrm Great Hammer (Dropped by Gyrm soldiers wielding them)
Enemies
- Blue Crystal Lizard
- Mongrel Rat
- Primal Knight
- Gyrm Warrior
- Bowman Guthry (Scripted Invasion)
Boss
Notes
- WARNING: If you try to place a Pharros' Lockstone when the "being summoned as a grey spirit" prompt appears, the door may be permanently stuck closed. Happened to me when trying to open the bottom portion of the Santier's Spear door on the first floor.
Doors of Pharros Walkthrough
Access
Defeating the final boss Scorpioness Najka in Shaded Woods opens up a gate which leads to the start of Doors of Pharros. You'll enter a flooded area, and will immediately have to take on your first enemy of the area: a Primal Knight. Once you've dealt with this one, make your way up the stone ramp to face the Gyrm Warrior. Drop off this platform and enter the small cave entrance, on the right, to find Gyrm's Respite bonfire on your right. Before entering however, notice the 10x Prism Stones on the right. Around the corner to the right is a MIMIC Chest which drops Black Scorpion Stinger x1 and Dark Leggings x1
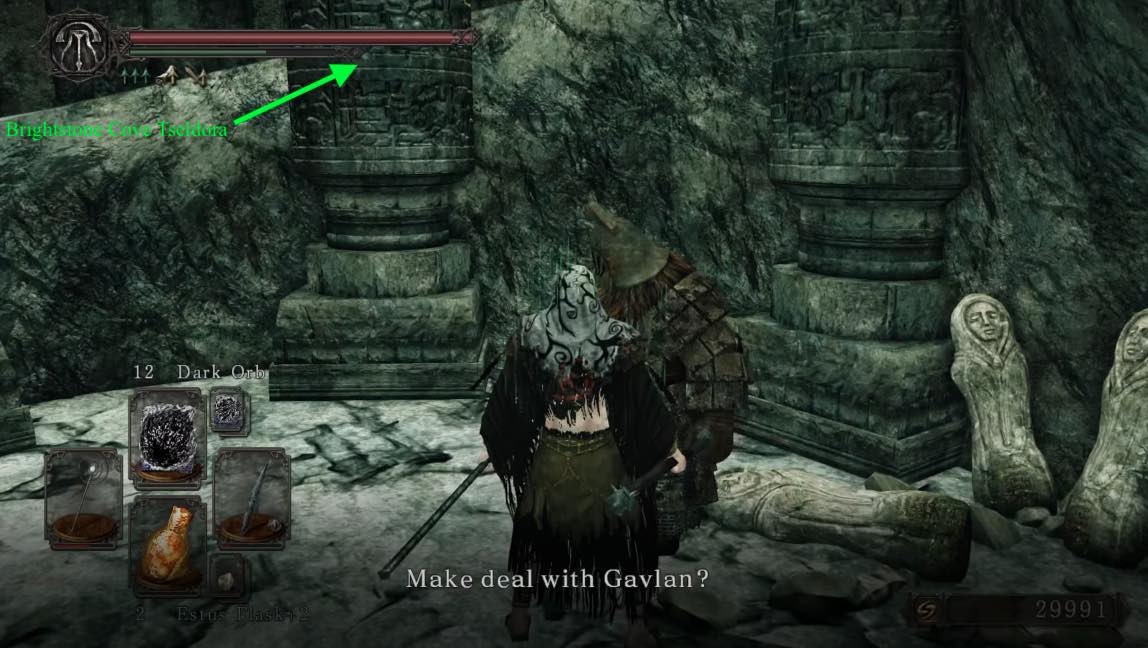
Come back up to where you defeated the Gyrm Warrior, and head left to find a Dwarf guarding a chest containing a Dragon Charm. To the right is another set of stairs leading to a room with NPC Gavlan and a corpse holding a Lifegem. There is a spiraling stairway in this room that leads to the entrance of Brightstone Cove Tseldora, but we still have lots to do here. For now, head back down towards the bonfire, and take a right at the sconce. This should bring you
Santier's Spear
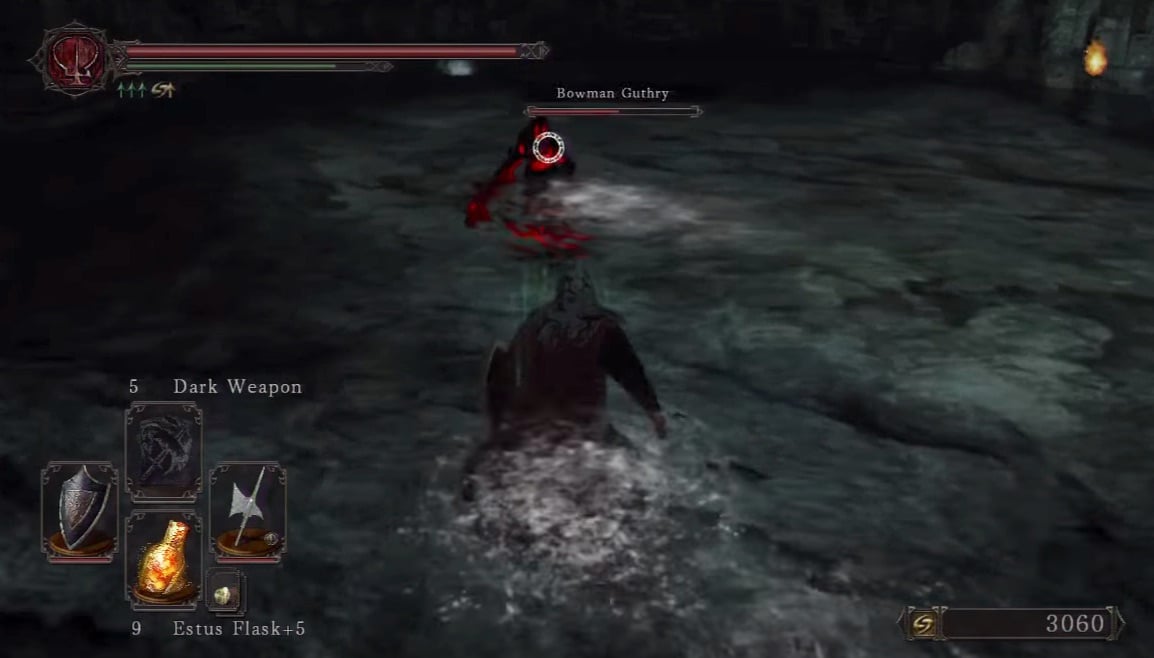
In the area past the bonfire, there is another Primal Knight, and a Mongrel Rat to deal with -UNLESS you've become a member of the Rat Covenant, in which case, they become non-hostile. Many Pharros Contraptions line the walls but they are only helpful for members of the Rat Covenant. The scripted invader Bowman Guthry, will also attack in this area, if you are playing offline.
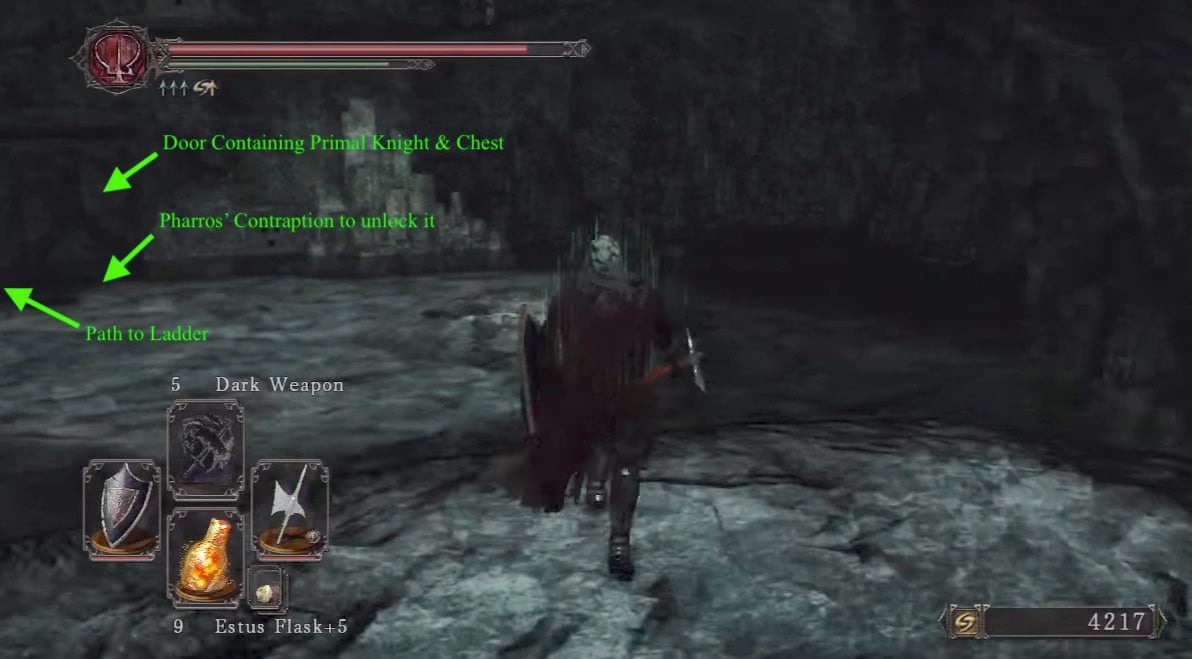
On the far side, you'll find a corpse holding 2x Amber Herb, while the doorway to the left leads up to a platform overlooking the rest of this area, with a corpse holding a Gyrm Axe and a Torch. Collect them then head back down. Find a big door in this room that has two Pharros Contraptions on either side, and a single Pharros Contraption in the water, in front of it. Activate it to raise the bottom middle of the door. The Primal Knight can be easily dealt with, as it is unable to pass the door, allowing you to go through the hole, loot the chest containing Santier's Spear. Go through the door on the left of the area, near where you picked up the herbs. Up ahead, you encounter two more Mongrel Rats before a ladder.
Fighting the Rat Authority
Climb up and loot the corpse for the Twisted Barricade and a Soul Of a Proud Knight . Take care of the two Gyrm Warriors ahead, take them out then look for the Pharros Contraption that lies in between the initial position of both Warriors; this lockstone opens a path in the area below with the Mongrel Rats which contains a chest holding a Faintstone and a Twinkling Titanite. To reach a third Warrior, continue along the narrow path, until you come across a section of the wall that has become spiked. Continue past it, making sure to avoid touching it and losing unnecessary health. You'll find him guarding a Trapped Chest containing a Titanite Chunk and a Petrified Dragon Bone. Also, beware that he is able to trigger a horizontal sandwich spike trap if you engage him from a distance without killing him, making your life ever so harder, so refrain from attacking this one until you know you can finish him too. Be careful not to engage him near the chest, as one of you may end up breaking it and missing out on its contents.
Continue on the narrow path and up the small stairs, check to the left of these small stairs for a Large Soul of a Nameless Soldier and a Pharros Lockstone, then continue into the next room. You are now on the second level of the room from earlier. Ahead are more Contraptions and Gyrm Warriors, some petrified, others not so much. Continue along the narrow path, taking out anymore Warriors that come your way. Half way down you will find a room to your left. Inside is Ordeal's End bonfire and a fog door, but don't go through it just yet. Head back out and continue left. Soon you will reach the opposite side of the room with 2 more Gyrm Warriors and a corpse holding a Soul Of a Brave Warrior. When you are ready, return to the bonfire and go through the fog door to face the boss of the area.
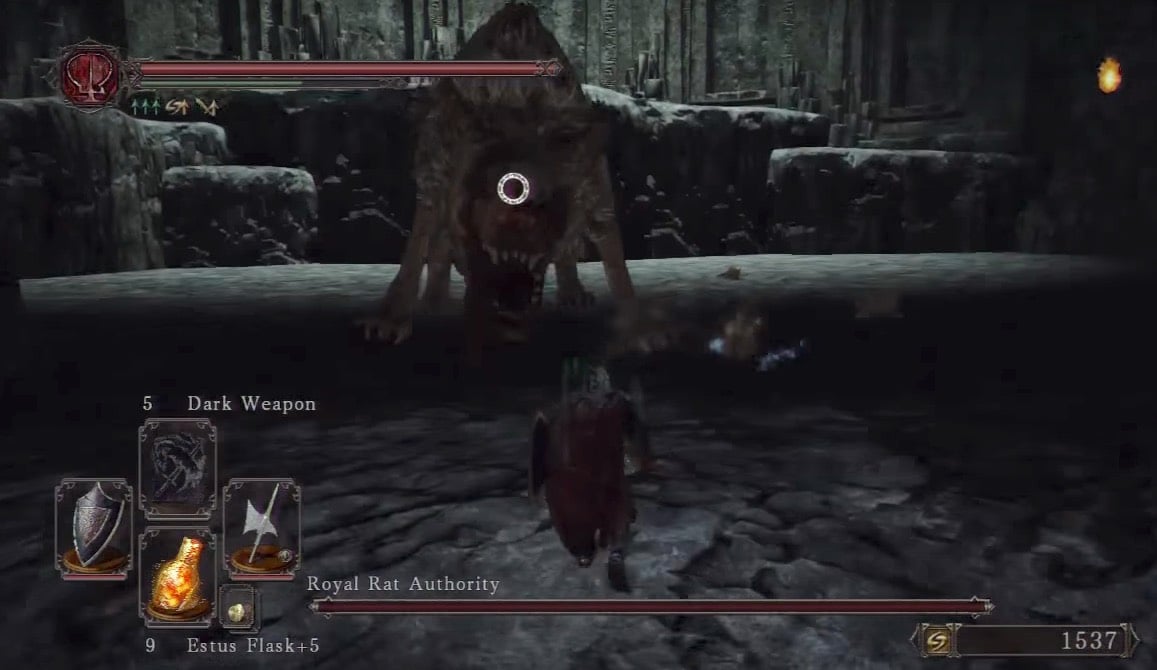
BOSS FIGHT: Royal Rat Authority
Rounding Up Before Tseldora
After you have dispatched the Rat Authority, you can head to the right from where you entered the fog, to take a path that leads to the Rat King, and to the left of him, is a drop that brings you back to the sconce before Gavlan. Once you're ready, drop down and make your way back to him.
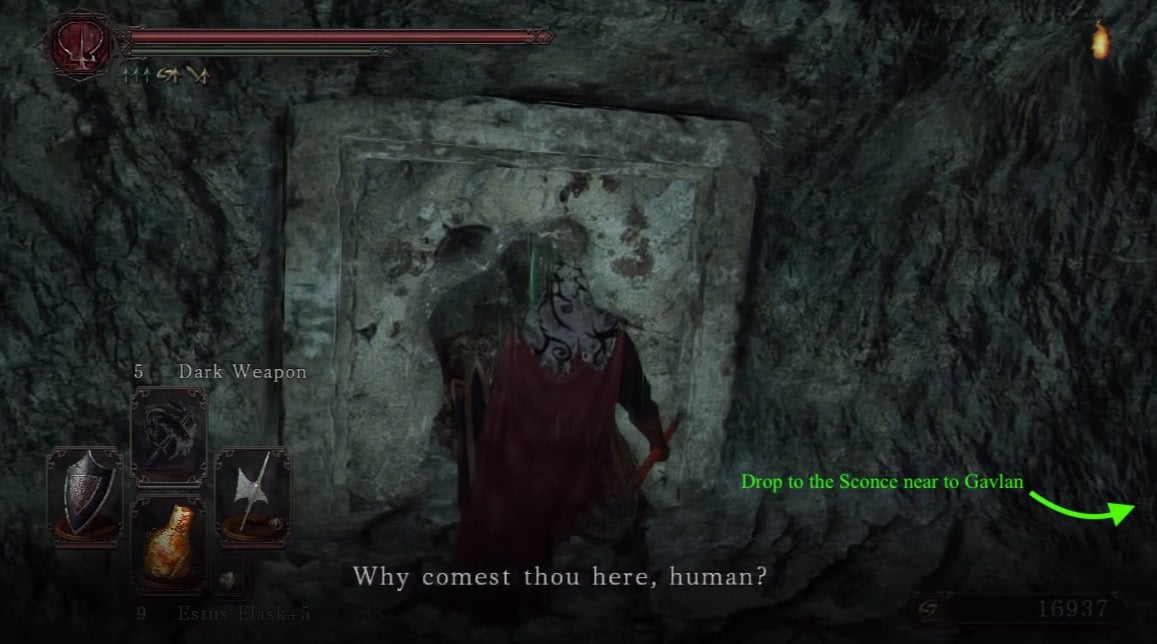
Now is finally the time to head up the spiraling stairs. Upstairs is a long hallway with a Gyrm Warrior at the end. Careful, as this one likes to throw his axes at you. Up ahead, you'll also find a Crystal Lizard, kill it quickly or it will run off the edge; you can approach the lizard from the Brightstone Cove first bonfire, which makes things much easier. Far ahead is another two Gyrm Warriors on the other side of a narrow walkway, while closer to your right you'll also find a Dwarf sitting next to a fire. Kill them and move to the other side and through the door at the end.
Travel up the long, winding stairs to reach a room with a broken fountain and some Urns. In the Urns to the left, find a corpse holding a Radiant Lifegem. Proceed through the door to enter Brightstone Cove Tseldora.
Full List of Pharros' Lockstone Contraptions
1st Floor
The one on the first floor has the Santier's Spear, the one on the second floor has a Soul of a Brave Warrior. A Faintstone and Twinkling Titanite can also be found behind one of the stone doors by the two poisoned rats on the first floor, however the contraption for it is located on the second floor by taking the nearby ladder up.
- 1st Room (the one you start on) left side: First and second door have Gyrm Warriors (one each), the third has a Rat.
- Big Stone Door: The 3 locks each opens one side of the door, you only need to open the one in front, underwater. Contains a Primal Knight and a chest holding the Santier's Spear. When in the Rat Covenant, still contains a Primal Knight, however requires all three opened for him to get him out, which allows you to walk around him.
- 2nd Room (the one with the ladder): both Doors have Gyrm Warriors in them.
- 1st Lock after going up the ladder (after Gyrm Warrior): Opens a door on the first floor, which leads to a chest containing 1x Faintstone and 1x Twinkling Titanite.
- 2nd Room (after going up the ladder) next to the chest guarding Gyrm Warrior (on the Alcove) both locks open doors with nothing in them (The door on the right has a Stone Gyrm trap inside).
2nd Floor
In this part, assuming you'll go right, crossing the nearest bridge, after going back to the first room ( this time on the second floor).
- Right after first bridge: Activates blade trap on the bridge.
- Right next to last lock: Activates Stone Gyrm trap in front of it.
- Right after 2nd bridge: Activates Stone Gyrm trap on the bridge.
- After last lock, on the floor: Opens a path with a Gyrm Warrior and a trapped chest containing 15x Magic Arrows.
- 1st Room, right before 3rd bridge/narrow path, on the wall: opens a path, through the wall, that avoids crossing the 3rd bridge
- 1st Room, right before 3rd bridge, on the floor, activates trap mechanics for the iron Gyrm statue in front of the lock.
- After the 3rd bridge/narrow path, on the wall, activates blade trap on the "bridge".
- On the floor, in front of three Big Stone Door locks: Activates Stone Gyrm trap in front of it.
- Big Stone Door: The lock in the middle opens the bottom part of the Door, allowing you to get the Soul of a Brave Warrior inside. When in the Rat Covenant, contains a Primal Knight (requires all three opened for him to get out).
- Right before 4th bridge: Activates stone Gyrm Trap in front of it
- After 4th bridge, right before the way to the bonfire, in the wall, the lock moves the wall, blocking your path (you would have to go back around it)

