General Information
- Previous: Dragon Aerie
- Next: Memories of the Ancients
- Recommended Levels: 105 to 115
- Boss: Ancient Dragon
- Bonfires: Shrine Entrance
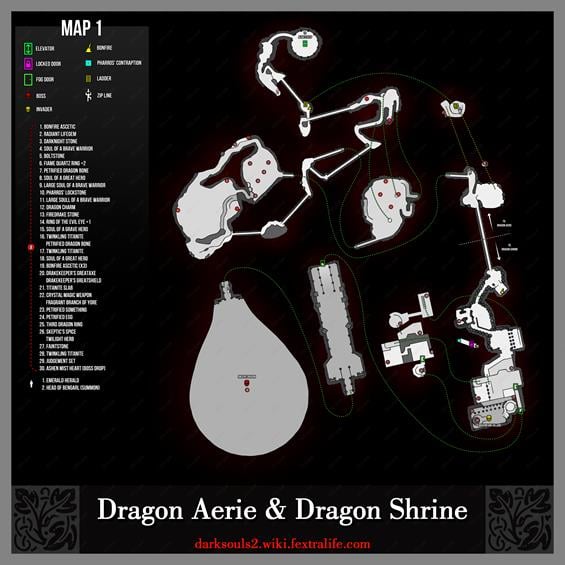
Dragon Shrine Map
NPCs inDragon Shrine
Items
Consumables
- 3x Bonfire Ascetic
- 1x Petrified Dragon Bone
- 1x Twinkling Titanite
- 1x Twilight Herb
- 1x Skeptic's Spice
- 1x Titanite Slab
- 1x Crystal Magic Weapon
- 1x Staff of Wisdom
- 1x Petrified Egg
- 1x Ashen Mist Heart
Equipment
- 1x Drakekeeper's Greataxe
- 1x Drakekeeper's Greatshield
- 1x Black Dragon Greataxe
- 1x Watchdragon Parma
- 1x Washing Pole
- 1x Third Dragon Ring
- 1x Mask of Judgement
- 1x Robe of Judgement
- 1x Manchettes of Judgement
- 1x Tights of Judgement
Enemies
NPC Invasion
Boss
- Ancient Dragon (Optional - drops Giant Soul)
Notes
- ??
Dragon Shrine Walkthrough
Friendly Locals
After arriving from the Dragon Aerie through the bridge, there is a bonfire in a small building left of the stairs. Head up the stairs and you will face a Drakekeeper. Behind him, in the arches under the upcoming stairs, are a pile of boxes hiding a Pharros' Contraption which reveals an illusory wall on the left. Inside is a metal chest with the Judgement Set and the Staff of Wisdom. Take a right just before the stairs and go through the doorway to find a metal chest with 3x Bonfire Ascetic.
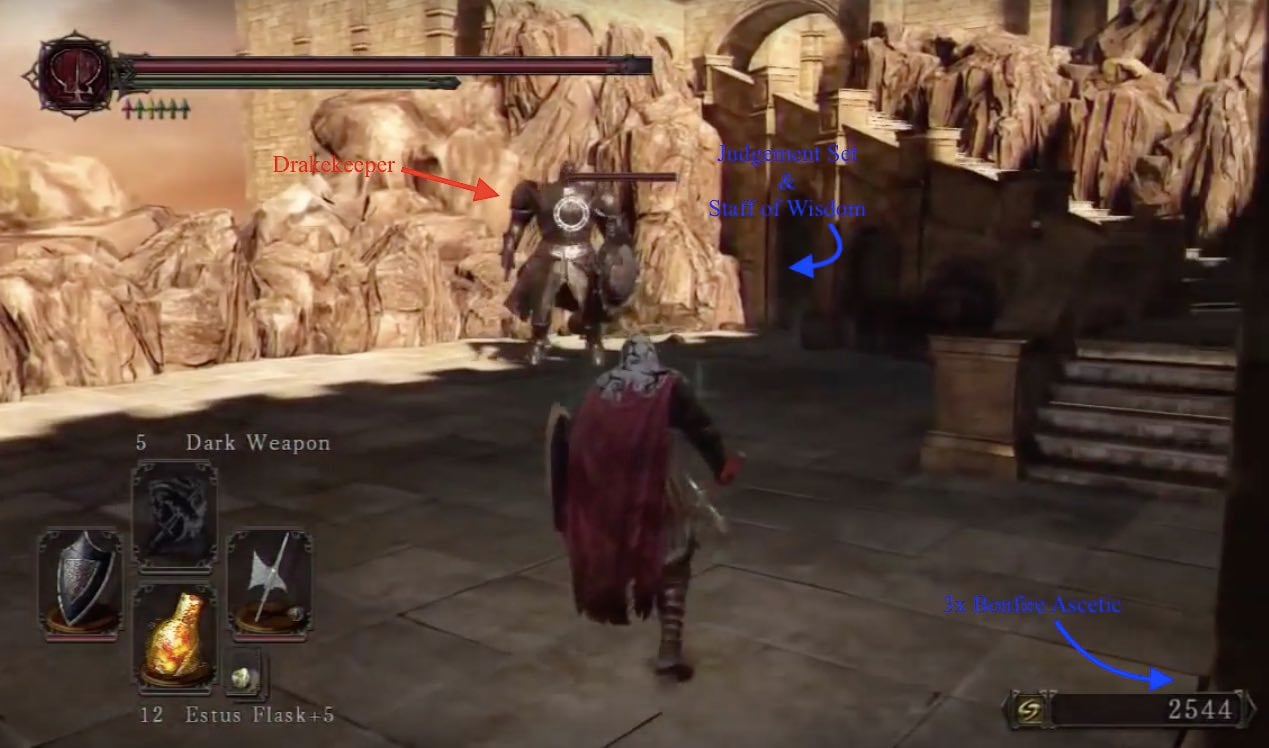
Having looted it, continue up the aforementioned stairs and you will find a Drakekeeper ready to attack. This one also wields a two-handed which makes this fight trickier than the sword-wielding one earlier. This enemy has a relentless flurry and is only open to larger attacks after he swings his mace overhead and smashes it into the ground.
- Melee - Try to keep still and lure him into such an attack.
- Alternatively, fight him from below on the stairs and most of his attacks will swing over you.
- Ranged - Lure him back to the stairs you came up and safely snipe him from there.
Continuing through the arches on the left, and up the first flight of stairs will be a chest containing a Twinkling Titanite. There will be another set of stairs to climb into a gazebo-esque structure holding a Dark Priestess and a Faintstone. Jump across through the opening in the railing to the next platform to find a metal chest on the right, with a Drakekeeper's Greataxe and Drakekeeper's Greatshield.
Egg Hunt
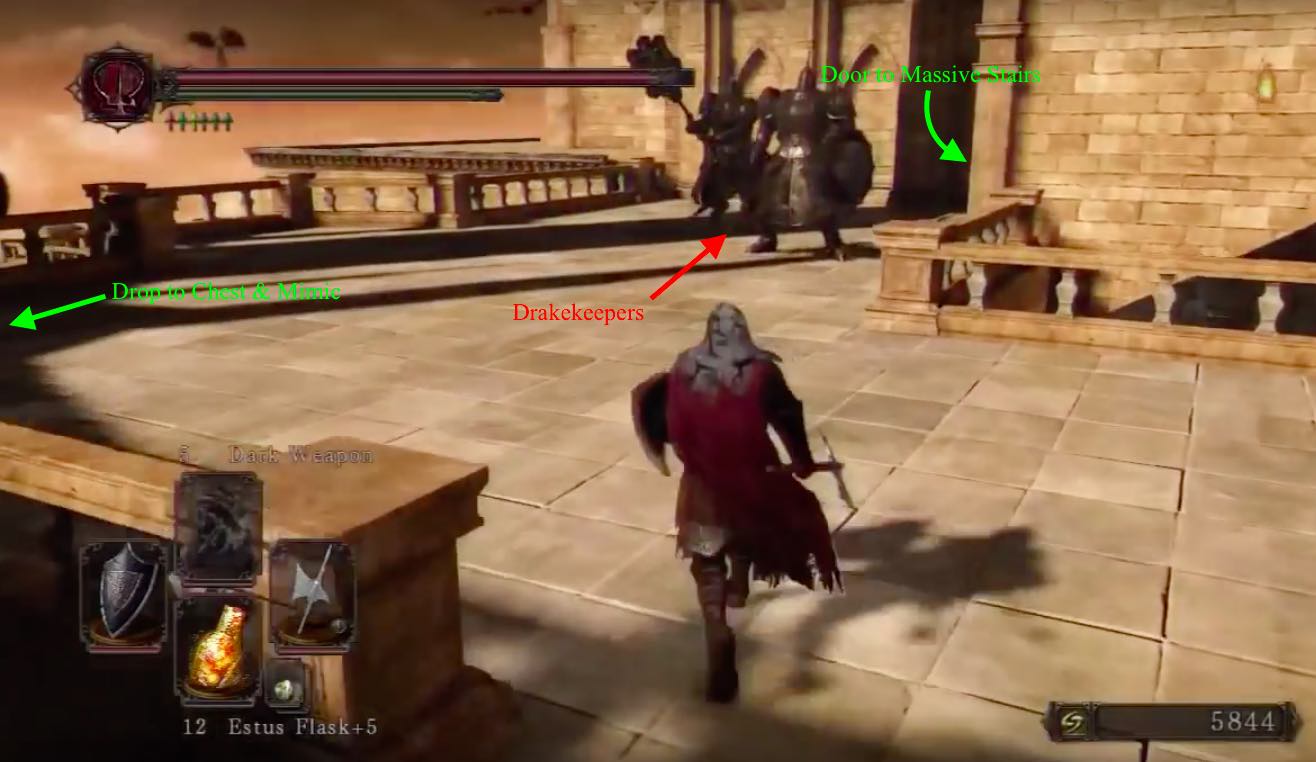
Drop down to the stairs below and head up to find another two Drakekeepers. After they have been dealt, head left of the stairs to drop down into a lower level and find a chest containing a Titanite Slab, and a Mimic on the right that drops the Washing Pole and a Petrified Dragon Bone when killed.
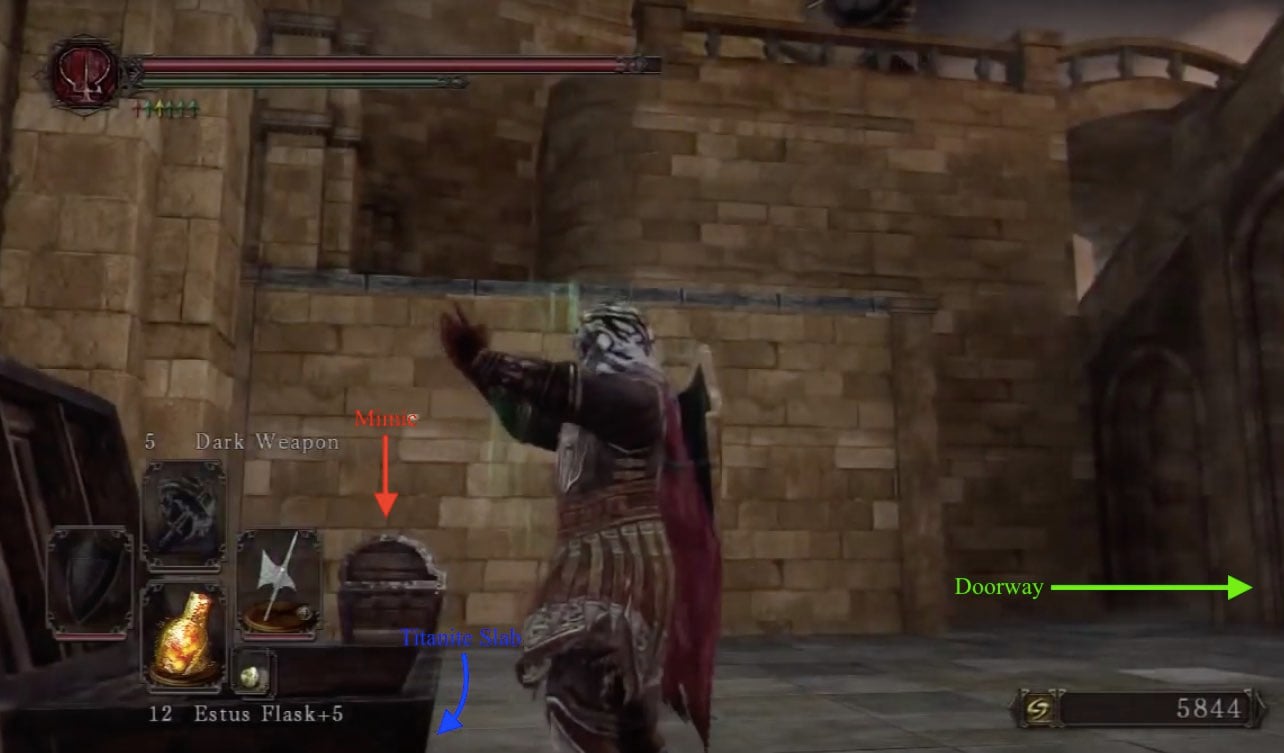
Proceed through the doorway to find Drakekeeper -wielding a Great hammer and Greatshield, with a corpse holding Skeptic's Spice and Twilight Herb, in a small recess on the left of the room.
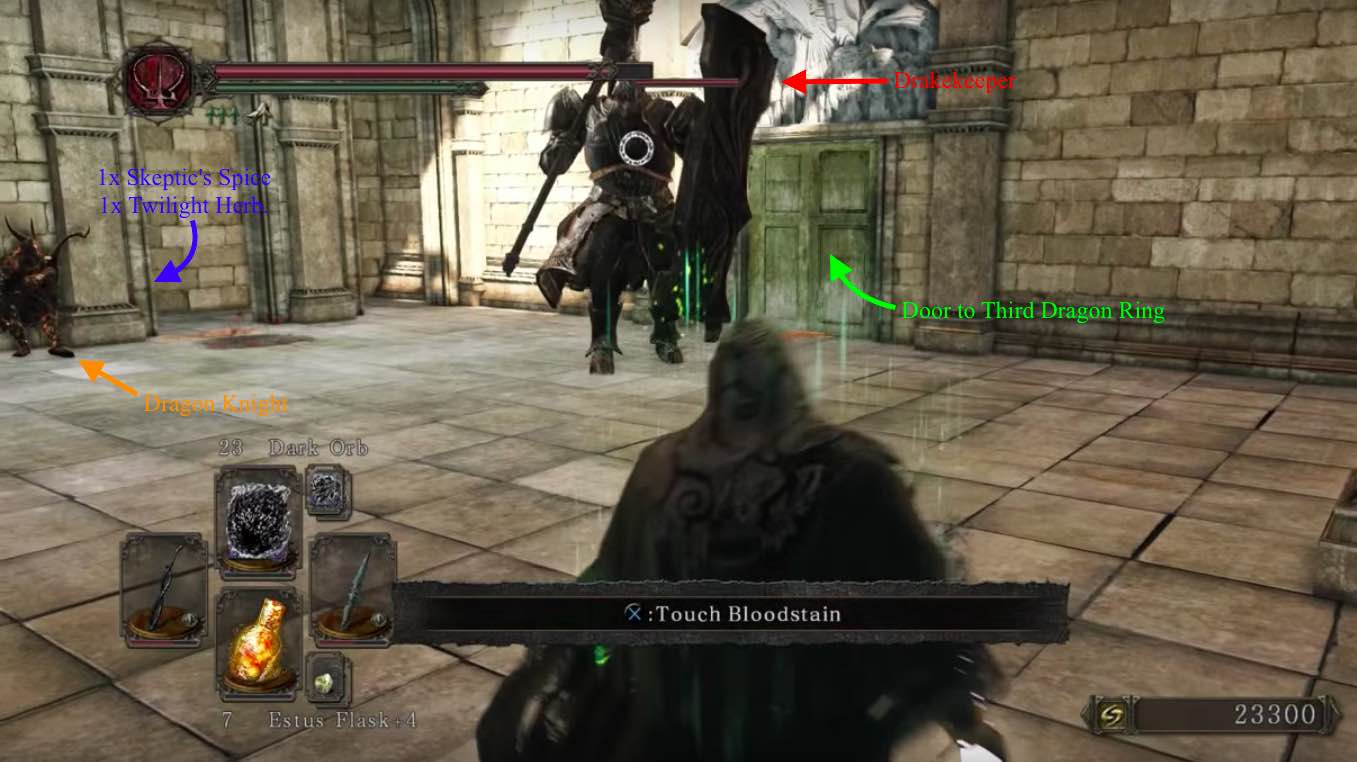
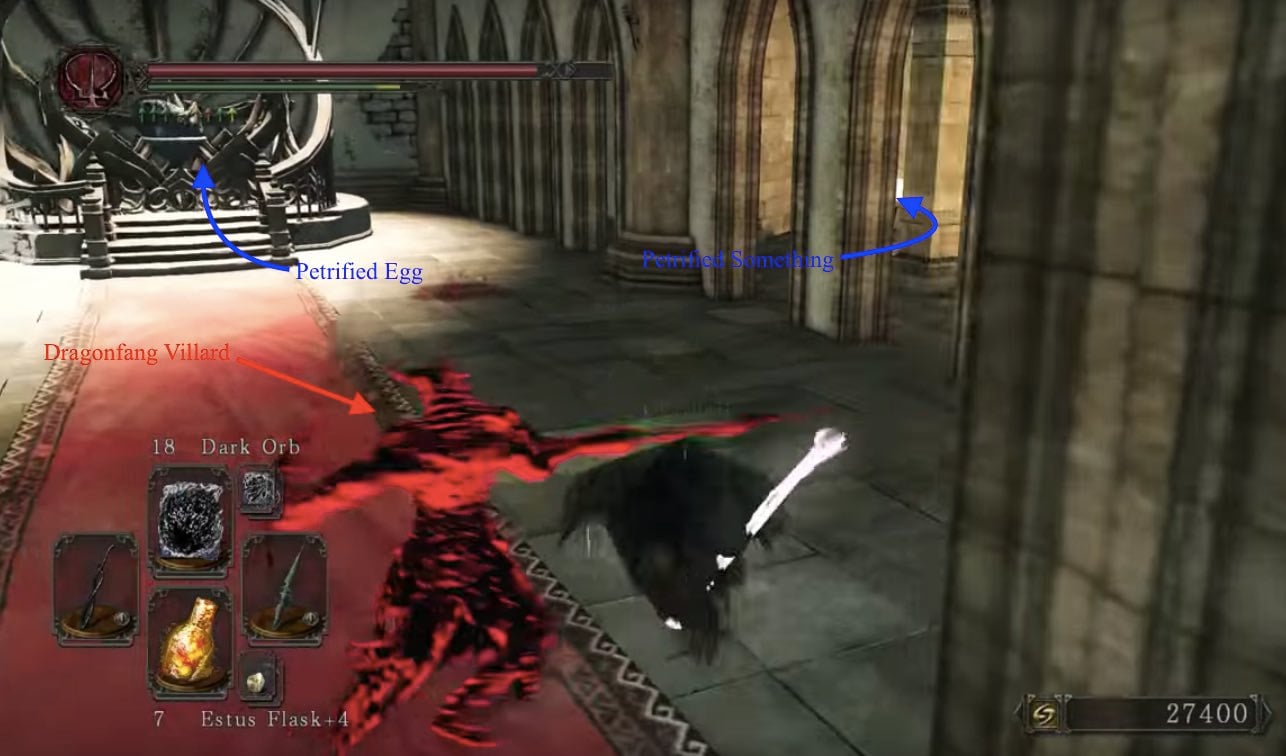
Going through the door, inside is a metal chest containing Third Dragon Ring, that triggers the invasion of Dragonfang Villard upon opening, and a long staircase up. While the invasion is in motion, he actually spawns upstairs at the shrine and will wait for you there. Once defeated, feel free to take the Petrified Egg from the shrine here; this item is use to join the Dragon Remnants later, after you give it to Magerold of Lanafir at Iron Keep.
Route to the Ancient Dragon
Now head to the edge at the right side to find another metal chest containing a Watchdragon Parma shield, then drop down once again onto the ledge below for another metal chest containing the Crystal Magic Weapon spell. Drop down one final time to arrive at the landing you initially dropped off to find the chest with the Titanite Slab.
Opening the wooden door and another wooden door will lead to a massive staircase leading up. Heading up will bring you initially to a pair of Drakekeepers. Beyond them, but already within your line of sight, are two Dragon Knights. These enemies are very fast and extremely though, and are very hard to deal with in pairs -try to lure one at a time, and avoid fighting the Drakekeepers any higher on the stairs.
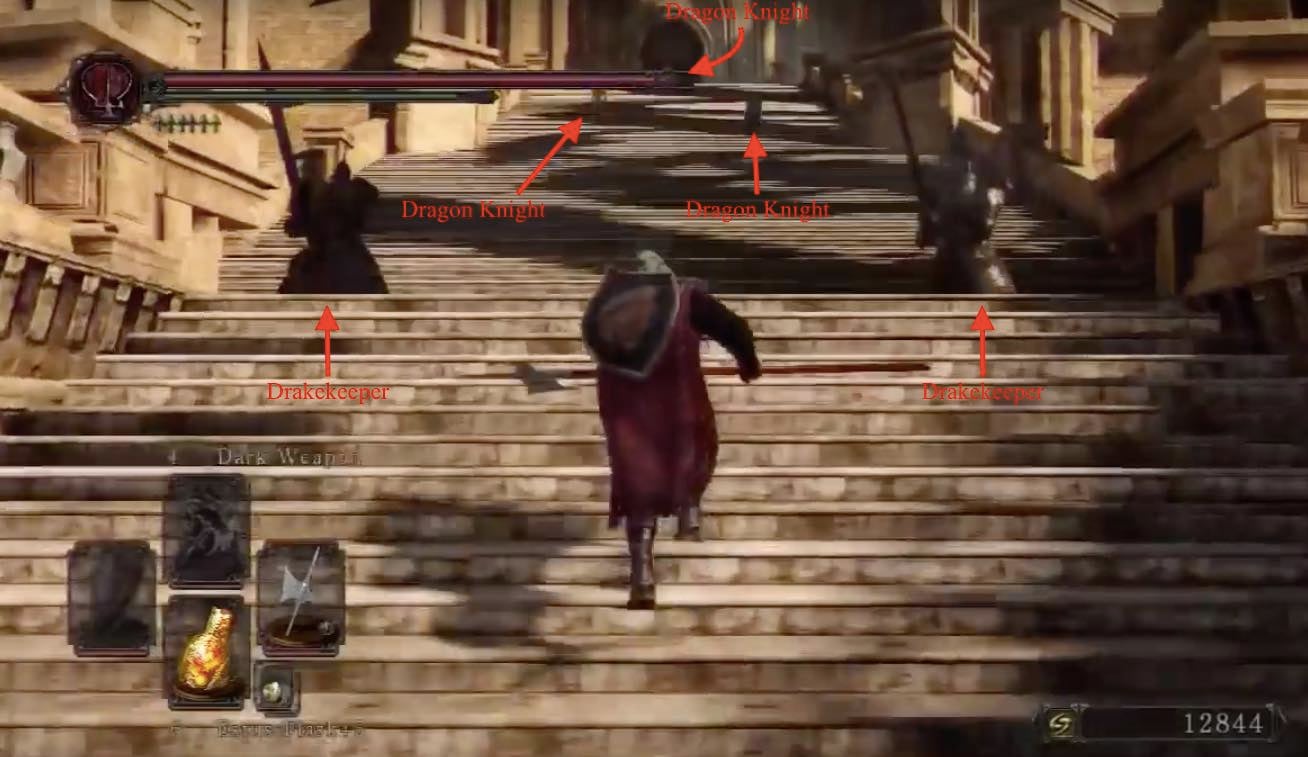
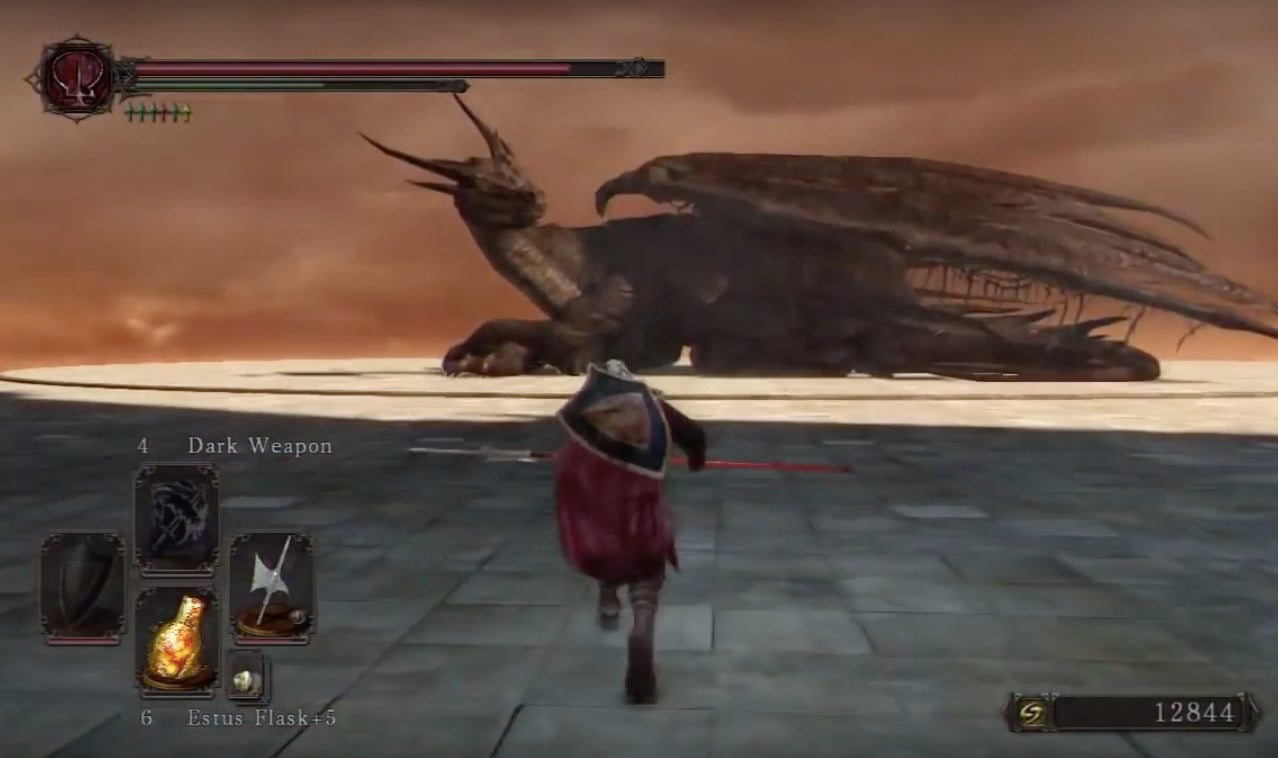
That being said, once you defeat all four, it's not over. You have one more Dragon Knight to deal with before you can cross this corridor to come out onto a large open platform with the Ancient Dragon waiting for you. Talking to the ancient one will award you with the Ashen Mist Heart. Remember all of the strange tree-giant hybrids that are laying around in various places? Now you can finally interact with them.
You can also choose to fight him or not, but there's no real need to.
BOSS FIGHT: Ancient Dragon
Enemy Strategies
Drakekeepers
- These enemies hit hard, and some of them are relatively fast for their size.
- They are vulnerable to bludgeoning attacks, and weapons such as the Large Club or Great Club devastate them. With a strength of around 40 and a fully upgraded weapon, expect them to drop after 2 or 3 hits. If you are using such weapons, it's recommended to use hit and run tactics in order to avoid their oft devastating attacks.
- They are vulnerable to fire. An effective tactic is to simply circle around them to the right and hit them in the back 1-2 times, bait their combo, then repeat.
- For the swordsman, he will do a downward strike or sweep both ways, and the maceman will slash twice in either direction.
- Block his sword attacks if you have a shield and he will be easy to kill, as he leaves a window after his attacks to land a hit with a weapon or a spell.
Dragon Shire Warrior
- These guys are fast, but they are easily stun-locked, even with weapons that deal medium poise damage such as a Claymore.
- They are faster if not meaner than they ever have been but they actually have low poise as they can easily be stun lock by heavy weapon even 2 hits from normal greatsword, such as a Claymore.
- Use pyromancy on them for high amounts of damage.
- Beware they have a shield smash skill just like us if you decide to block all their combo.

