General Information
- Previous: The Gutter
- Next: Shaded Woods
- Recommended Levels: 65 to 75
- Boss: The Rotten
- Bonfires: Black Gulch Mouth, Hidden Chamber
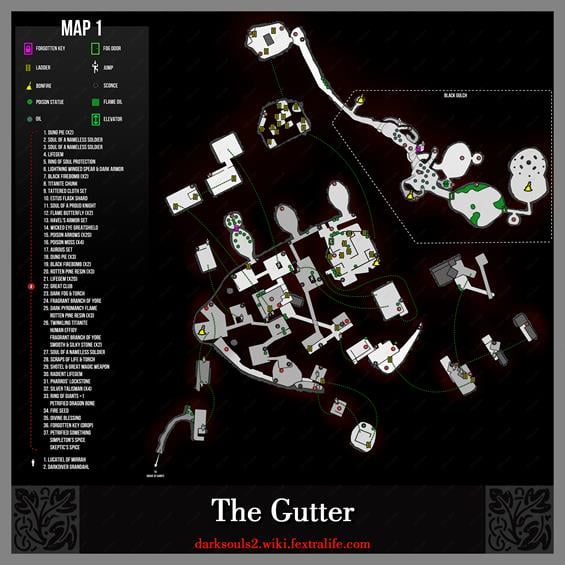
Black Gulch Map
NPCs in the Black Gulch
- Darkdiver Grandahl
- Lucatiel of Mirrah
- Lone Hunter Schmidt (NPC Summon)
- Bashful Ray (NPC Summon)
Items
Consumables- Fire Seed
- Silver Talisman x4
- Petrified Something
- Simpleton's Spice
- Skeptic's Spice
- Great Magic Weapon
- Scraps Of Life
- Pharros' Lockstone x1
- Forgotten Key
- Soul Of A Giant
- Petrified Dragon Bone
Enemies
- Darksucker
- Giant worms
- Giant(s) with clubs who came to conquer Drangleic.
Boss
NPC Invasions
- Woodland Child Victor
- Woodland Child Gully
Notes
- Stock up on fire arrows
- When farming in the Forgotten Door area, be prepared to finish it 12 times without leaving the area or the statues will reappear. Don't forget to change from your Item Discovery set for the Ponds above, into your Soul Increase set for the Giants below
- With the Forgotten Key, revisit the other locked door in The Gutter area to claim Havel's Armor Set.
- You can also open the door in the pit in Majula to get Soul Vortex, Witchtree Branch, Witchtree Bellvine, Great Lightning Spear, and the Dragon Talon.
Black Gulch Walkthrough
Invasion of the Body Statues
After entering from The Gutter there is an immediate cave to the left with a Bonfire inside. Make sure to use this before proceeding down the pathway, which itself is pretty easy to follow in a single linear progression. The poison statues you encountered in the gutter that were previously scattered, are now in abundance everywhere, making them a greater threat, or equal to, the enemies in this area. For the sake of not being repetitive, assume the whole area is infested with statues, and only the key examples will be highlighted, so just destroy them as you go along to save you the trouble. After a short path there is a large area with oil puddles -you can ignite- on the floor. This will kill the three Darksuckers lurking in two of the puddles. The Forlorn might also invade shortly after the bonfire.
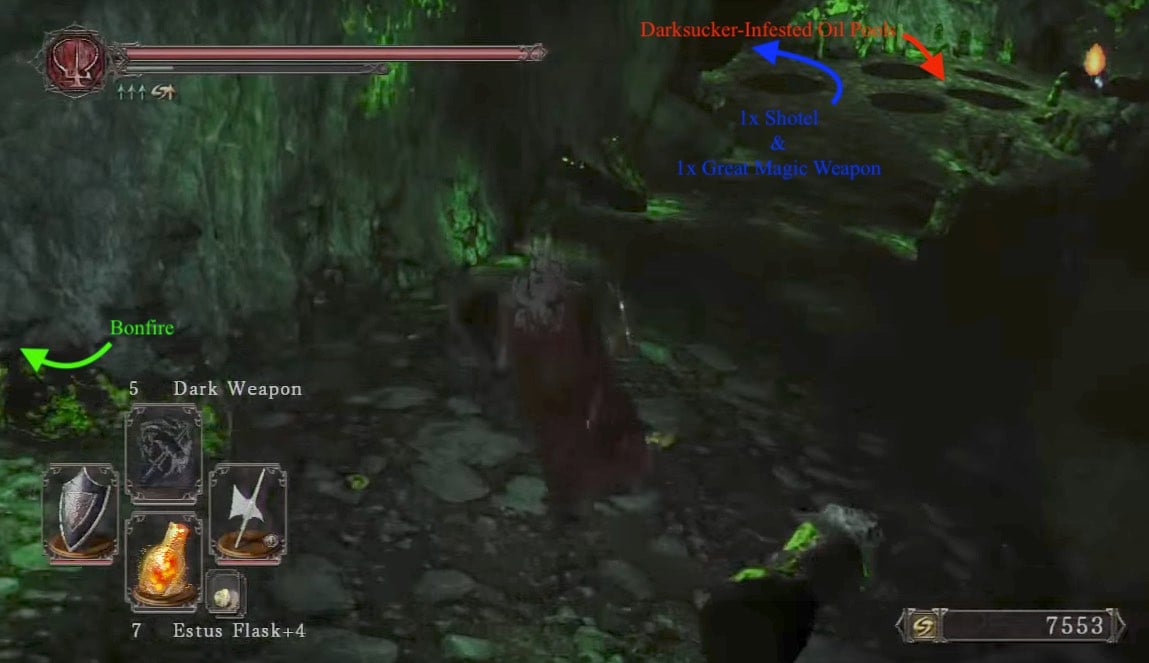
Burn the Oil
Just before you get to the first large open area, it's worth lighting a torch and examining the ground beneath the cliff on the right hand side. If you look carefully, you will see a small ledge jutting out that you can jump down on. This will take you into a tunnel containing Lucatiel of Mirrah and no enemies. The tunnel winds up and you'll end in a terrace area overlooking the first main clearing. There are a bunch of poison statues that you can destroy here, and doing so will make navigating this area much easier. Once you're done, drop back down into the main area and proceed.
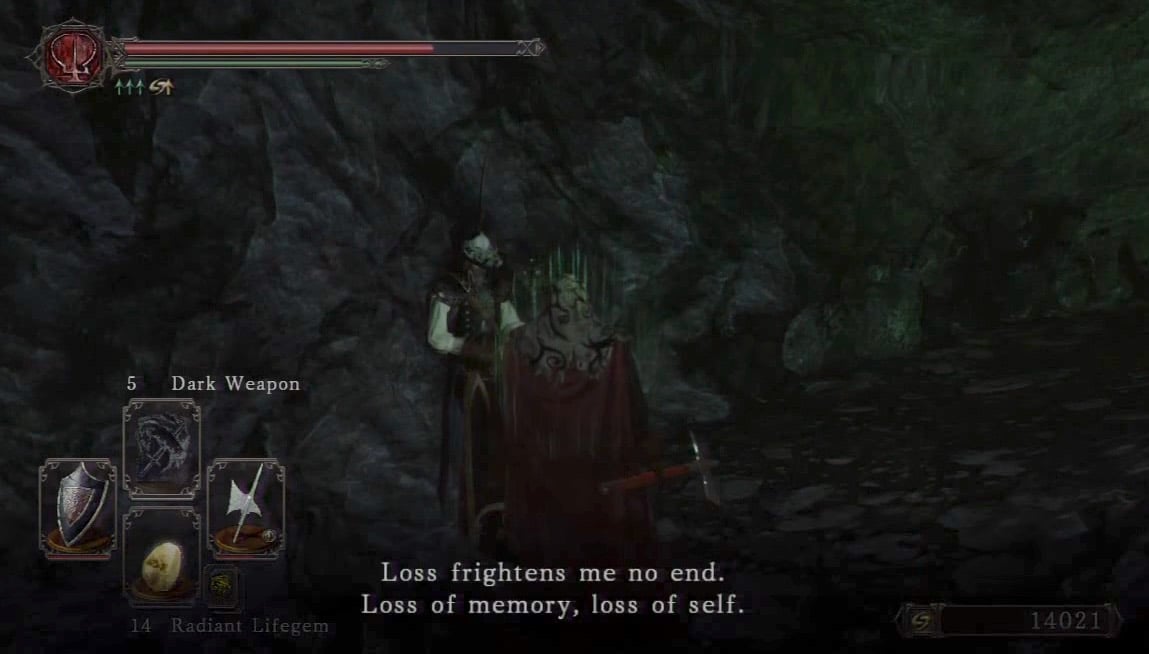
On the right there should be a summon sign for Lone Hunter Schmidt. Three of the five first puddles hide Darksuckers. Ignite the oil pools with a fire arrow or a pyromancy spell to kill them without even having to contest them in battle. They can drop Titanite Chunks and Large Titanite Shards. To the left of the first set of puddles, is a smaller path leading into a cave where a chest, guarded by more poison statues, containing Shotel and Great Magic Weapon can be found.
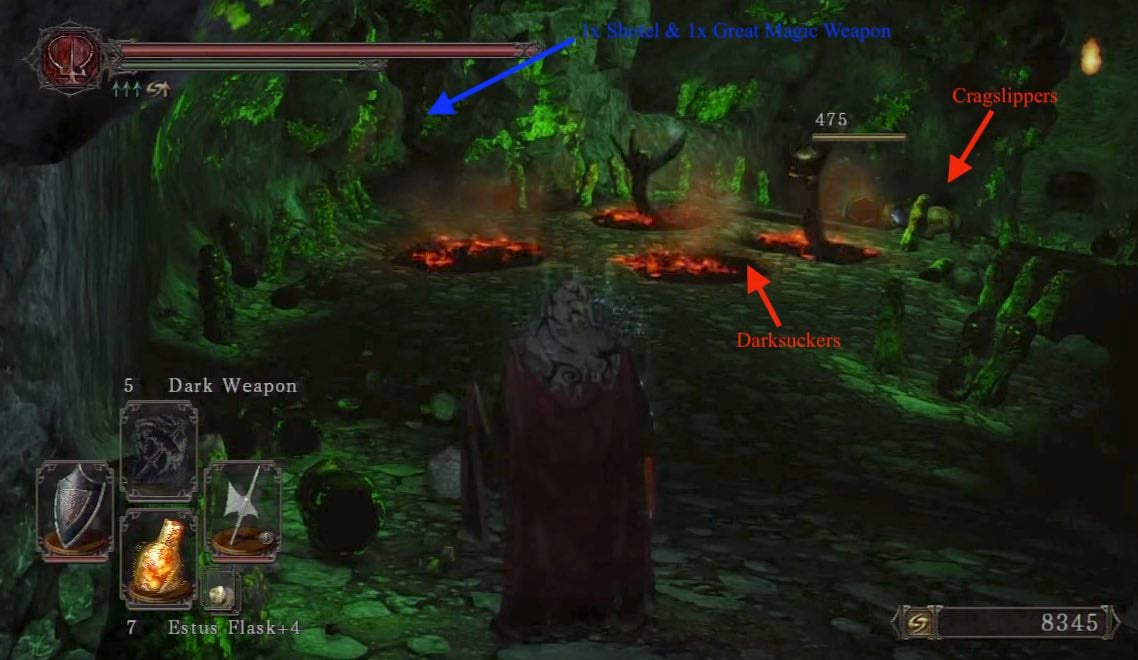
Worms
Continuing down the main path, you'll encounter two Cragslippers that will pop out of the wall. As long as you don't stand directly in front of it, you should be safe to smash. Two corpses are near this worm. One has a Torch and Scraps Of Life, and the other has a Soul of a Nameless Soldier, A shade summon sign for Bashful Ray is shortly after the worm. Another giant worm will pop out at you. They may drop Poison Stones, making this a possible farming area.
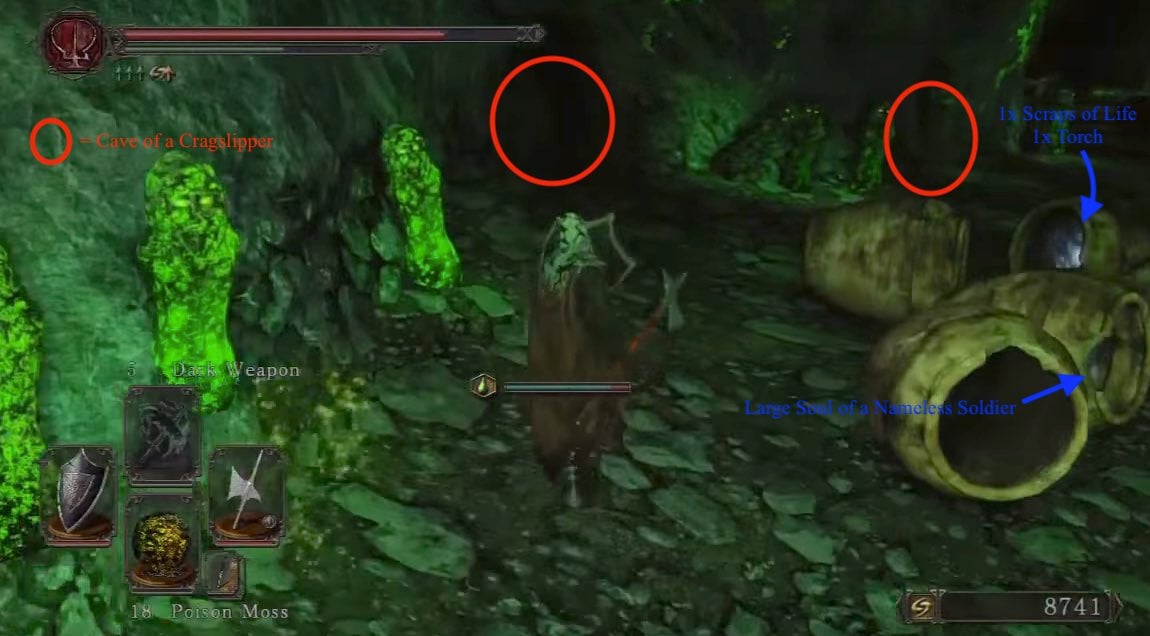
Forgotten Door (Detour - Skip to 'Big Gully' to continue)
Before the next area but after passing the Cragslipper, look to the right to find a small ledge which you can drop down from to land on a platform in front of the Forgotten Door that requires the Forgotten Key.
Acquiring the Key
Head right when facing the door and jump down to the platform below then to a platform below that on your hard right (almost behind). You will find a cave housing a pair of Great Giant Warrior. (Break all the poison shooters on the upper level before dropping down or you will be hit multiple times when leaving the giant area). The Giants are able to be poisoned, and casting is also a viable tactic:
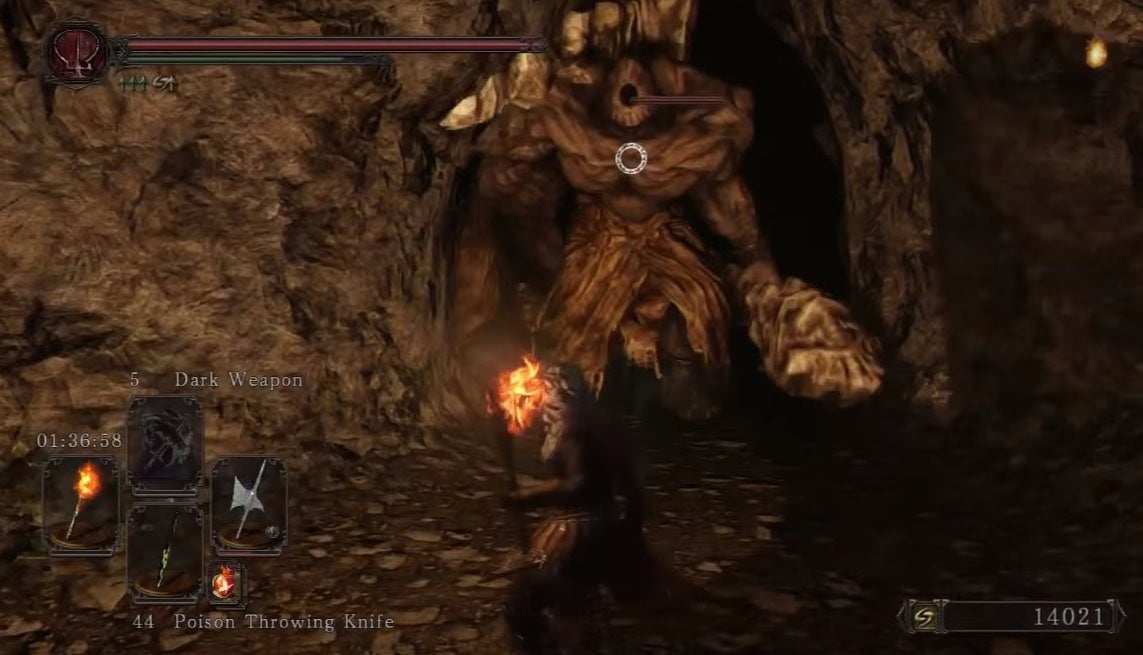
- Tip 1: For an easy fight, bait them to the ledge outside while doing damage, then once outside run around the corner to the right and hide. They will retreat to the cave. Keep doing this till they are dead.
- Tip 2: There's another easy tactic if you use ranged weapon like Dragonrider Bow. As soon as you enter the cave with two Giants run to the cave on the right, hug the wall in the right side of the cave an safely snipe them, since they can't reach you.
- Tip 3: Equip 2 Dark Fog hexes (needs 4 slots), 3 casts on each should kill them, if not, cast 4. If you do it perfectly you can kill them both with 1 hex equipped, killing both Giants in 3 total casts! To start, run up to them to get them moving, then run for the exit, wait for them to bottleneck as they enter the tunnel then cast once to hex them both. Lead them out towards the mouth of the tunnel while the hex does its work, then let them start to head back in. When they're almost back into the cavern and when the hex wears off, cast it again, while they're both still in the tunnel, then lead them out and back in again and repeat. You don't need to lock aim as they're hard to miss. Enjoy your reward.
Upon killing the giants you will receive a Soul Of A Giant and the Forgotten Key. While these Giants respawn, they only drop loot upon first killing them. In the chamber with the Giants, is a doorway straight ahead from the entrance which leads to a chest containing Ring of Giants +1 and a Petrified Dragon Bone.
Scrap with the Darkdiver
Go back into the main chamber and search for a door to the left. In here you can find an elevator and a Jar on the ledge behind which holds 4x Silver Talisman. Circle around hugging the right wall to reach the Jars. Ride the elevator up -don't use a bone, feather, or miracle if you plan on farming giants for souls unless you plan on breaking all the poison shooters again.
CAUTION: The left of the elevator basket is much more narrow than the right. Be careful not to fall down here.
This brings you to a ledge above the main pit (opposite the bonfire, near the large skeleton). Make your way back to the ledge and drop down to the Forgotten Door. Beyond the door you'll find Darkdiver Grandahl and one of the altars that leads to the Dark Chasm of Old, upon joining the Pilgrims of Dark.
Big Gully
Shortly after you will arrive in another big area with a lot more oil pools, and statues. There is a corpse hidden in a Jar with a Radiant Lifegem. In a cave on the left, find another cave with another chest containing a Divine Blessing, surrounded by Poison Statues. Head back outside and retrace your steps.
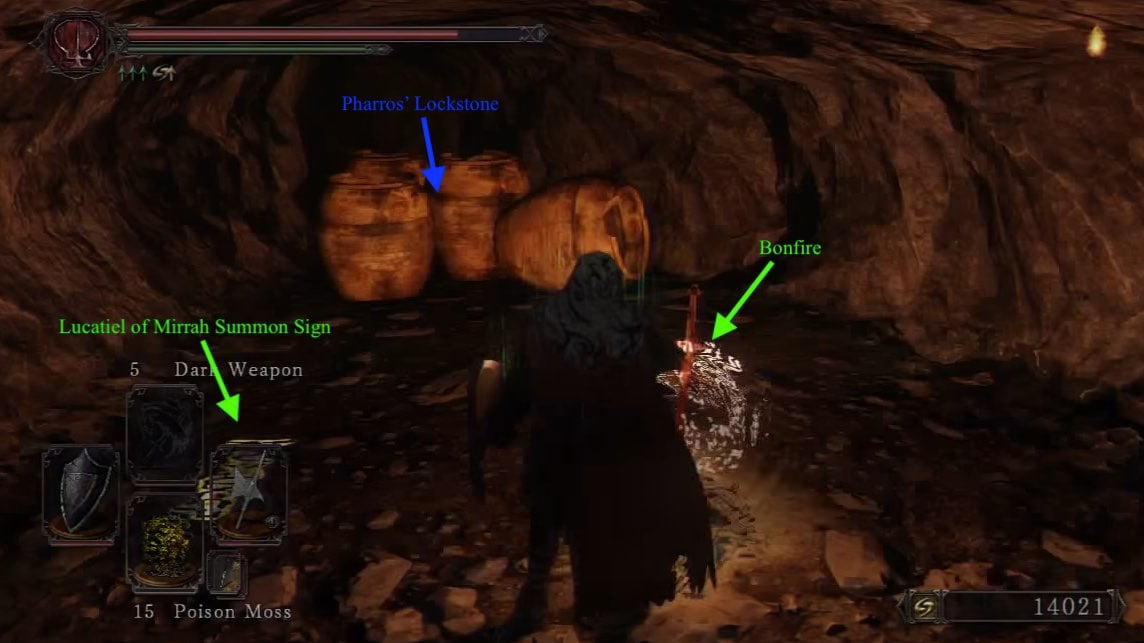
Take a right, from where you entered the area, to scale around the hill and find a petrified Hollow, blocking the entrance to a cave which happens to hold a Bonfire, as well as a Pharros' Lockstone on a corpse in the Jar behind it, and the summon sign for Lucatiel of Mirrah. Another urn blocks a shortcut that leads to the end of the large room. This is important as it allows you to bypass almost all of the statues and enemies, if you fail to win against the next boss, who is rather close. Either taking the shortcut or going through the main area leads to the Boss Fog Gate.
BOSS FIGHT: The Rotten
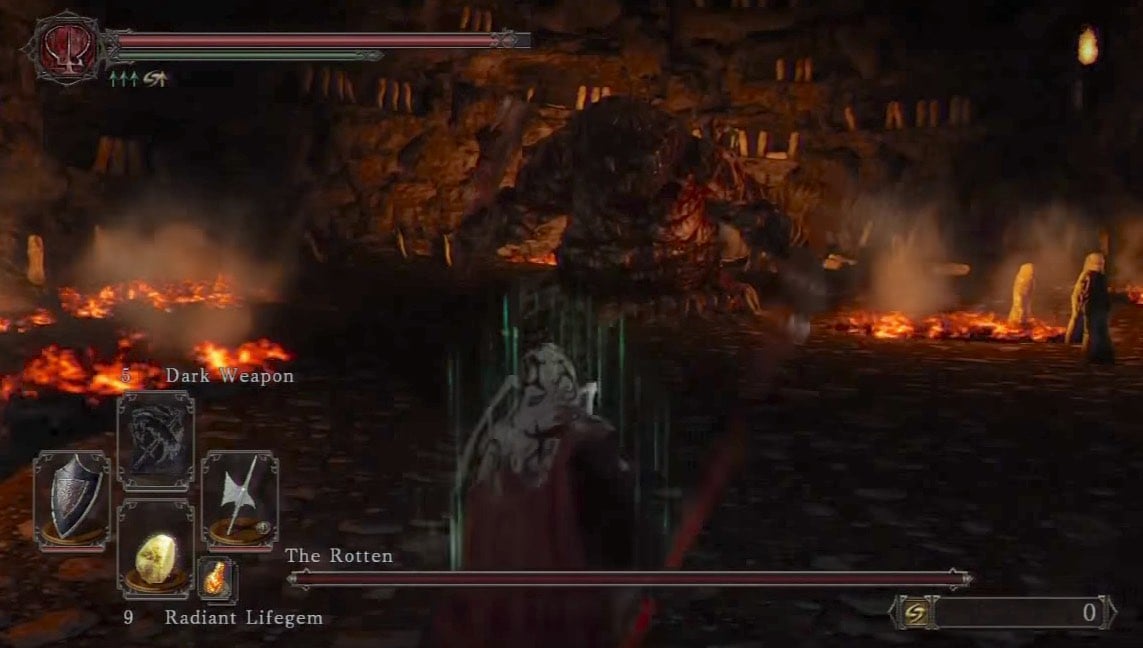
Beating the boss nets you the Soul of the Rotten and 40,000 souls. Helping another player beat this boss will result in 10,000 souls. There is a corpse holding a Fire Seed that requires crossing a bit of fire to reach.
A small door leads out to a narrow tunnel. There is a small room on the right with a chest containing Petrified Something, Simpleton's Spice and Skeptic's Spice and a large room that has a Primal Bonfire and an obelisk that transports the player to the entrance of Shulva - Sanctum City, the first area of the Crown of the Sunken King DLC.

