General Information
- Previous: Brume Tower
- Next: Memory of the Old Iron King
- Recommended Levels: 110 to 120
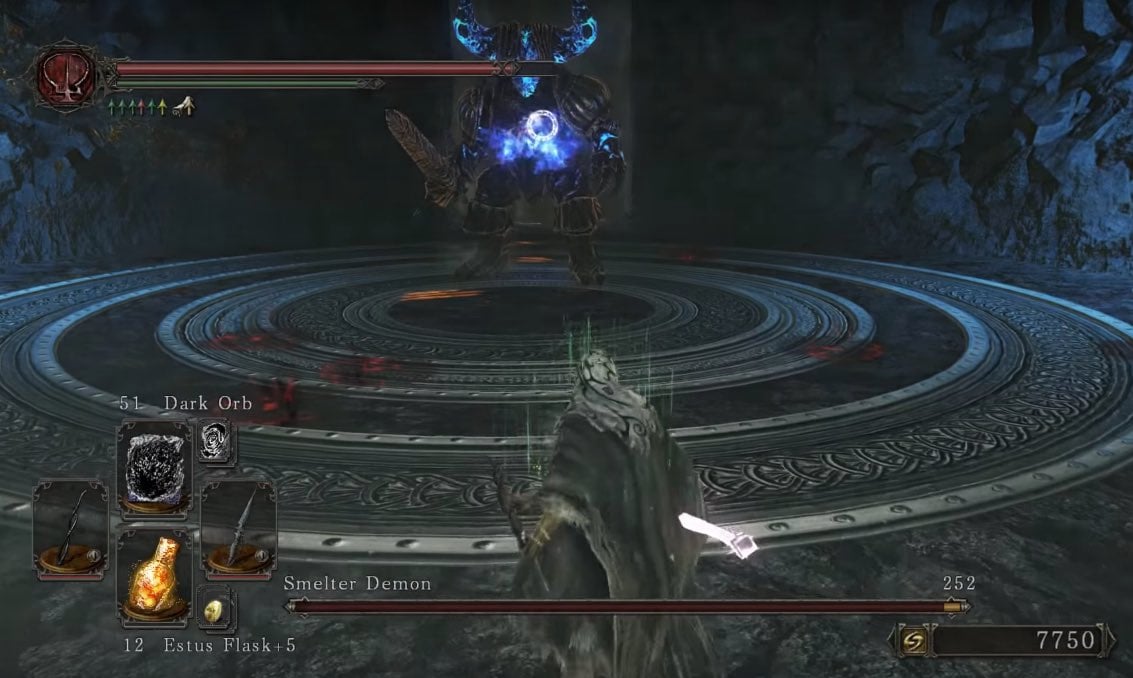
- Bosses: Smelter Demon
- Bonfires: Iron Hallway Entrance
Iron Passage Map

NPCs in the Iron Passage
- N/A
Items
Consumables- 7x Large Titanite Shard
- Dried Root
- 2x Crimson Water
- Simpleton's Spice
- 5x Torch
- 2x Wilted Dusk Herb
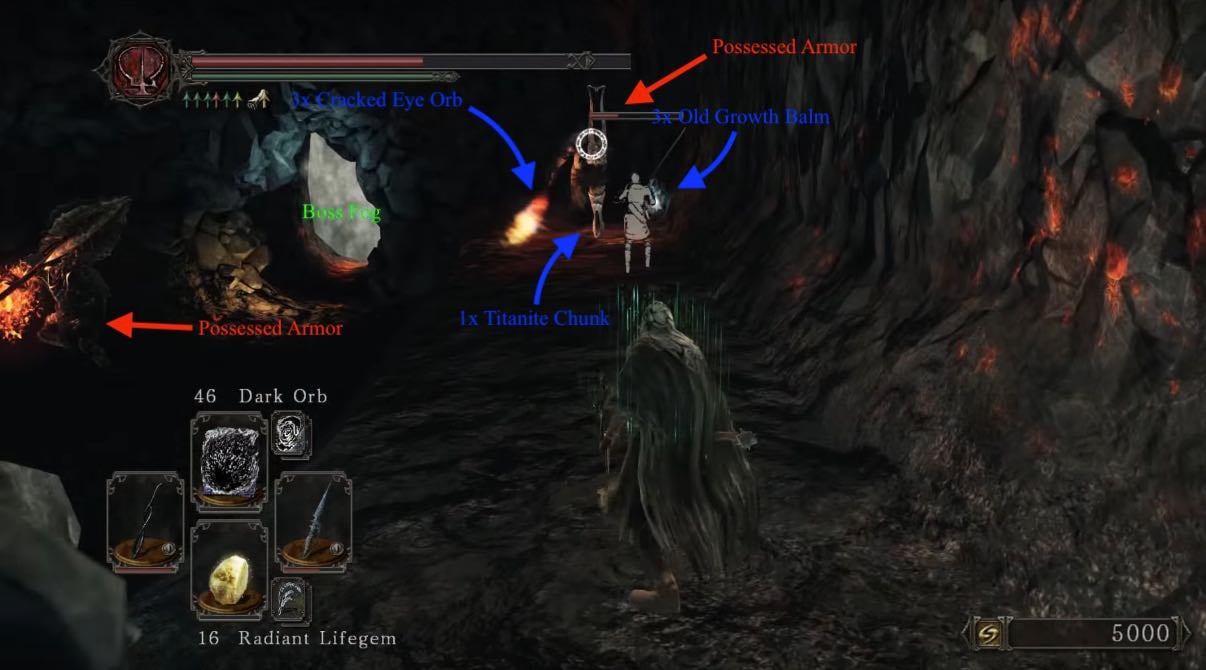
- 3x Cracked Eye Orb
- 3x Old Growth Balm
- 1x Titanite Chunk
Enemies
Boss
Notes
- ??
Iron Passage Walkthrough
Access
Obtain the Tower Key from Brume Tower to gain access to the Iron Passage.

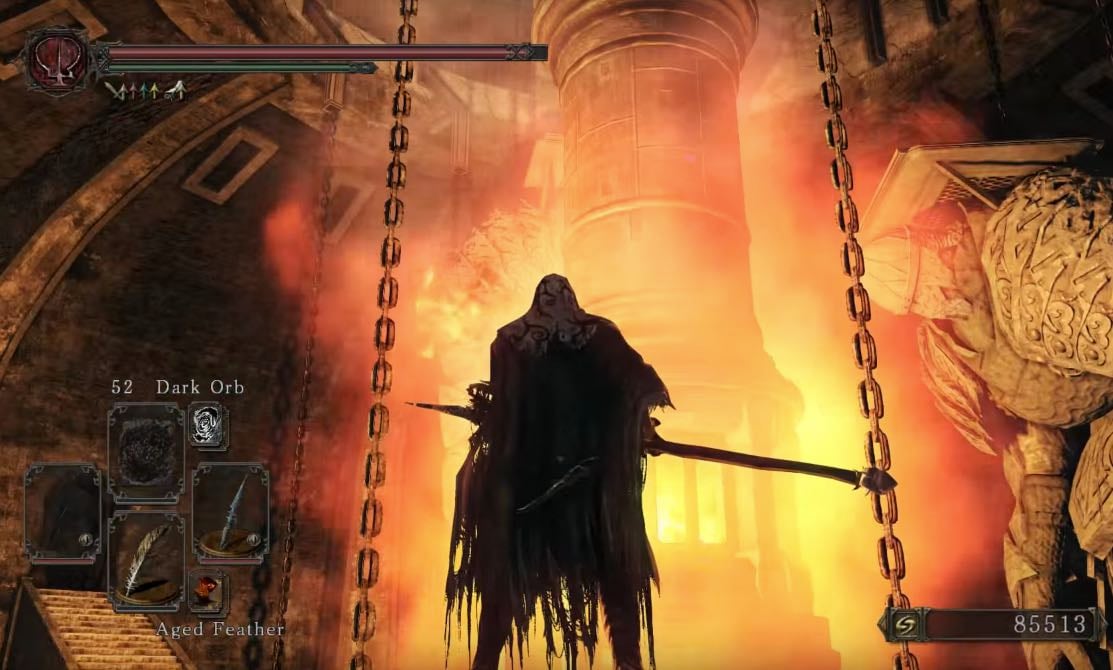
From the Foyer bonfire, take the elevator that goes down then use the Tower Key on the small metal door. Head down the two staircases then pick up the 2x Twilight Herb on the right, before you take the elevator down. Once down, enter the doorway to prompt the "Iron Passage" title, letting you know you've arrived.
Blue Big Bad
Light the Iron Hallway Entrance bonfire, then drop down to the next floor. This is one of the areas where summon signs are available for players that don't have this DLC can be summoned, as well as the NPC summon signs for Steel-willed Lorrie and Drifter Swordsman Aidel.
Continue to find a lever, a path ahead, and a path to the left. Pulling the lever opens the cell doors in the path ahead, and will release 4 Ashen Warriors will be released, after killing them the last cell to the right will contain a corpse holding 7x Large Titanite Shard. This lever has another use that is not essential to complete the area, and will be described under "Optional Content".
Take the path to the left and drop down the hole. Around the corner is a room with two more Ashen Warriors, and a Fume Sorcerer providing lightning cover fire for them, when you engage. You will see an item in a body out of reach, ignore it for now. After killing the enemies, head through the doorway and drop down again. You'll find another drop with an Ashen Warrior waiting below, drop and kill it. Continue to the next room with the Sorcerer, a Possessed Armor, and two Ashen Warriors (one of which hides in an attempt to ambush you). After dealing with them, continue to yet another drop. This final room contains a Possessed Armor, a Sorcerer, and an Iron Warrior. After killing them all, pick up a Dried Root from the body and enter the mist to fight the boss.
Boss Fight: Blue Smelter Demon

After defeating the boss, continue to the next division and pick up the Pharros Mask from the corpse. Take the elevator here, and drop down to the walkway to find yourself back at the entrance of Iron Passage.
Clearing the Run
It's worth clearing one room at a time, then feathering back, since you can earn a lot of souls as well as collect the Jester Gloves and Covetous Serpent Ring; it's also a very short distance from room to room, and dying deep feels bad when you've collected 40k souls. It also means you only use one effigy, if you're bringing the summons along. Consider using the NPCs, combined with Aged Feather & Black Separation Crystal. It's considerably safer. They'll always take the low path. And if you take the high path, they'll just rush to the last room.
Lever Room
Clear the Skeletons. It's worth just doing this 12 times if you want to clear the run easily. Once they're stop respawning pull the lever, and run down the corridor, ensuring to hug the right wall. Roll through the first two fireballs, and simply run past the remainder. You'll drop into a pit with the Priestess and Sorcerer through a doorway.You can then take on the Warriors, and feather back, or stay on this path.
Low Path
Room 1:
- Bait out the Warriors, and take them away from line of sight of the Sorcerer. While doing this, the Priestess will likely run down to you. Generally, the Priestesses will drop down if you've aggroed them but are unable to see you. Stand at the end of the ridge that the Sorcerer is on and take him out with wooden arrows. His spells will crash into the ground.
Room 2:
- Dive attack the Warrior. Then roll forward to bait the next Warrior behind the wall. Pull him back out of line of sight of the archer, then wait for the archer to shoot, to run to aggro the next Warrior and Priestess. Once again, remove yourself from the Archer's line of sight before you kill them both. Deal with the Archer at range, if you like. Watch for the final Warrior hiding out of sight at the end of the room.
Room 3:
- Aggro the Priestess then break her line of sight, and kill her when she approaches. Let the NPCs do the hard work on the Giant (5-6 poison arrows will also take 2/3 of his health). Snipe the Archer.
High Path
Room 1:
- After killing the Priestess, kill the Sorcerer. Ignore the Warrior, and head back into the fireball room. Go through the archway, and you're into the second room.
Room 2:
- Find another lever here, and a few more Warriors. Also watch for the Sorcerer who spawns near the lever. You can stunlock it pretty easily , once you know where it's spawning. Pull the lever, then clear the warriors. As before, consider doing this 12 times before moving on.
- Running through this gate is the only way to access the Possessed Armor's platform in the final room.
Room 3:
- If you didn't take the gate on the previous room, you'll come out by the Priestess. Bait the Archer to shoot while hiding in cover. Once they've fired their shot, take care of the Priestess, and just suck up the arrows (two handing a katana takes ~6 light hits). Once again take cover to heal up or simply catch your breath, then use poison arrows to take care of the Giant (or let the NPCs do it). Snipe the archer.
- If you did go through the gate, you'll arrive out by the Archer. Kill him then drop down to kill the Priestess. Snipe the Giant with poison arrows (5-6 arrows), take him on hand-to-hand, or let the NPCs do the work.
Optional Content
It is not possible to get all items in this area in one run. You will need to use Aged Feather or Homeward Bone, and rest at a bonfire a few times to reset the area and come back for missing items.
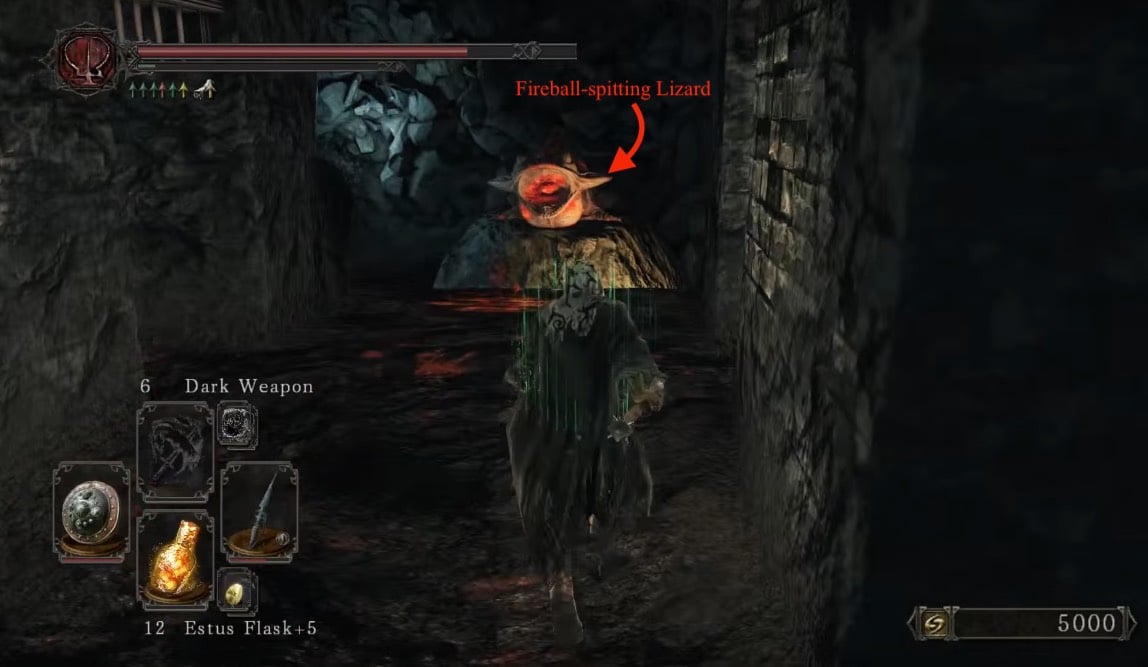
The lever in the first room that open the cells, also opens the grate at the end for the stone lizard to shoot fireballs. If you pull the lever and run (and manage to dodge the fireballs) you can go past the grate before it closes and have access to the upper areas with items you could see, but not reach. Even these upper area have many enemies, which makes it more challenging than the lower areas.

When you manage to run past the closing grate, an Astrologist will be waiting for you. Deal with it, and go left to face the Fume Sorcerer and pick up 2x Crimson Water from the body at the end.
Head back to where you dropped but this time, head forward. You will see another lever, and a Fume Sorcerer will emerge. Kill the sorcerer and look ahead of the lever. Its another block of cells with a grate and a salamander at the end. The two bodies holding items in the cells, but to pick those up you can't progress more in this area, you will need to return to the bonfire to reset the area and come here again.
If you open the cells, you'll find three Ashen Warriors, a Simpleton's Spice, and 5x Torch. If you decide to run past the grate, you will find yourself in a room with 2 exits.
- The exit on the left - An Astrologist awaits. Here you can see an item below, and a Possessed Armor close to it, but if you drop to pick it up you have to repeat the process all over again. If you drop down, kill the Possessed Armor and pick up 2x Wilted Dusk Herb.
- The exit on the right - Leads to the last area, near the boss gate. A Possessed Armor will also be guarding two bodies holding 1x Titanite Chunk, 3x Cracked Eye Orb, and 3x Old Growth Balm.

Co-Op Strategy
If you are summoning help, or being summoned, Iron Passage becomes a lot more manageable. Rather than choosing one path, it is best to split up, with two players passing through the first gate, while the other two, preferably the host and either another player or an NPC summon, stay behind and go through the "main" route using the passage to the left.
The two players going through the gate can simply wait next to the gate while the host pulls the lever. The two players taking the high route can split up a second time at the second gate, with one going through while the other pulls the lever again. Doing this allows all of the enemies on each level to be engaged directly, and doesn't require anyone to attempt to dash through the gauntlet.
If you have less than four players, it is generally better for players to go through gates when possible, since the players on the higher levels can easily support the player on the lower level with archery or spells once they have defeated the enemies on their part.
Also note that, if you are the host, it is preferable if you don't engage the Iron Warrior outside the boss gate until the players on the higher levels have dealt with their enemies, and are able to come down and assist. Remember, if a phantom dies, you're down one phantom, but if the host dies, it's all over!
