Walkthrough page for Dark Souls 2 (DKS2) provides players with an overview of the game advancement. Our walkthrough is divided per area of the game, so visit each page for details on items, enemies, NPCs and bosses found in each location. Read the Game Progress Route for our recommended approach.
Useful Links
The following pages can provide important information that can help players get past the many challenges found within Dark Souls 2.
- New Player Help: Embark on your journey in Dark Souls 2 with our comprehensive New Player Help guide. Navigate the treacherous lands of Drangleic with expert tips, starting class recommendations, and essential strategies to overcome the challenges that await new adventurers. Whether you're a seasoned warrior or a first-time Undead, this guide will be your invaluable companion in mastering the basics and forging your path through the dark and unforgiving world.
- New Game Plus: Delve into the heightened intensity of New Game Plus with our guide tailored for experienced Undead seeking a greater challenge. Uncover the differences and increased difficulty in NG+, discover unique encounters, and strategize to overcome familiar foes who have grown more formidable. Whether you're a completionist or simply hungry for more perilous adventures, our New Game Plus guide will assist you in navigating the enhanced dangers and reaping the rewards that come with successive playthroughs.
- Challenge Runs: Take Dark Souls 2 to the next level with our Challenge Runs guide. From self-imposed restrictions to community-favorite challenges, we provide a roadmap for intrepid Undead adventurers looking to test their skills in unconventional ways. Explore unique playstyles, tackle specific limitations, and share in the camaraderie of fellow challengers as you push the boundaries of what's possible in the world of Drangleic. Whether you seek personal achievement or community-driven challenges, this guide will inspire and guide you on your daring journeys.
- Trophy and Achievement Guide: Uncover the secrets of Dark Souls 2 and showcase your prowess with our Trophy and Achievement Guide. Navigate the intricate requirements, hidden tasks, and elusive accomplishments that await completionists. From conquering formidable bosses to mastering intricate covenants, our guide provides step-by-step instructions and insightful tips to ensure you unlock every trophy and achievement in your quest for recognition and completion. Whether you're a hunter of trophies or an achievement aficionado, this guide is your roadmap to claiming your well-deserved accolades in Drangleic.
Quick Boss Walkthroughs
Please if you need or want more information don't hesisate to consult the Bosses page.
- The Last Giant: This boss is easy, just get in close, weave between his legs and slash him up. Strafe and roll and he goes down easily. Buff your weapon with Gold Pine Resin for this fight if struggling.
- The Pursuer: This fight is much easier with a phantom to help you. Low-level players may find this boss hard and intimidating, as the boss will constantly exhaust your stamina, hit through your Shield, and is reasonably fast. However, if one summons a phantom, the phantom can distract the Pursuer, allowing the host, or another phantom, to use the ballistas found in the area. If you can get an accurate shot on the Pursuer, you'll cut his health down to 1/4, making the fight much easier. Be aware that the Pursuer can destroy the ballistas if he gets out of control, and that the ballista shots will hit anyone in the way, potentially killing your phantom. If one is offline, or cannot find anyone, then try parrying the boss. This may give you enough time to run around to the back of the ballista, and open fire. Buff your weapon with Gold Pine Resin for this fight if struggling.
- Old Dragonslayer: This fight is relatively simple. Just strafe him and he is less likely to touch you. When he jumps in the air, roll to the right and his shockwave won't hit you. He will charge at you occasionally, but just dodge it. He goes down very easily. Buff your weapon with Charcoal Pine Resin or Aromatic Ooze for this fight if struggling.
- Dragonrider: This fight is also very easy. He is slow and easy to get behind. Just strafe him and be careful not to fall into the gaps in the floor. He hits hard will deplete your Stamina fast if you just take the hits. Just keep strafing and slashing. For Spells, just keep your distance and hit him when he misses his attacks. Buff your weapon with Charcoal Pine Resin for this fight if struggling.
- Flexile Sentry: This fight can be intimidating given the small area you are fighting in. The enemy has four arms, two arms with swords, or two with clubs. STAY FACING THE CLUB SIDE, his attacks are slow and easily dodged. Lure him to attack and miss and go in for a few hits then back off. Use the pole in the middle of the room to your advantage to make him attack it. You can use a bow and arrow here, but he closes in quick. Buff your weapon with Gold Pine Resin for this fight.
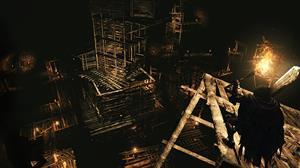
- Ruin Sentinels: Bring one spirit in to help you, it will still be a rough fight but doable. You will go through the fog gate and fight the first sentinel. STAY ON THE SMALL PLATFORM. The first sentinel will attack you, but the other 2 will stay away until you kill the first. If you fall off the platform, the other two will enter the fight and make the fight extremely difficult. They all attack with halberd attacks that are blockable, but you will lose all your Stamina after about two hits. Take out the first one then heal and use a Lifegem before you drop down because the fall will hurt you, so the heal over time will help here. Take out the other two with your partner and you should be good to go. Try to get both of them to attack at the same time so you have time to slash at both of them at once using a sword or spear or greatsword. A great tactic is to summon Pilgrim Bellclaire, whose sign can be found in one of the cells right outside the fog gate. Make sure that the Ruin Sentinels don't swarm her, as she won't have a chance to summon her powerful Spells. Buff your weapon with Gold Pine Resin for this fight if struggling.
- The Skeleton Lords: This fight you might want to bring in help for. There are 3 Lords that will attack you, they are pretty weak, but after you defeat one, it summons a few minions to attack you. So kill off one, kill its minions, then go after the others. The fight won't end unless you kill all the minions. You should be able to take out each Lord with about 3 good combo hits. Use Alluring Skulls for this fight if struggling.
- Executioner's Chariot: *Note-Stock up on about 200 arrows to make this easier* Go into the fog, turn left and run down the hallway. There are alcoves to hide in as the chariot drives by around the arena. Kill the skeletons blocking your way and hide, wait for the chariot to pass. Kill more skeletons and find the first Necromancer and kill him (They keep reviving the skeletons). There is one more necromancer to kill before they stop reviving. Remember to keep hiding each time that chariot comes through. Let the chariot kill off the remaining skeletons. After they're all dead, DO NOT FLIP THE SWITCH, instead hide in an alcove and point your bow out and shoot the chariot each time it passes through. You can also throw daggers or bombs. It will weaken it slowly, but you will only have to get it to half health before the horse falls into a giant hole in the arena, and you'll stop seeing it coming around. If you look towards where it would be coming from, it will be struggling to get out of the hole, just shoot it once and it will fall into the pit. Boss defeated, and you won't even have to use any healing items. Use Gold Pine Resin or Rotten Pine Resin for this fight if struggling.
- Covetous Demon:This encounter is very easy. Go right in and two hand your weapon, blocking is useless (I blocked like mad in this fight with a +0 tower shield and no points into endurance, thus blocking is a viable strategy for this fight. Fast characters should use their full potential of Dodging and strafing. Covetous has huge HP pool, but it is one of the easiest bosses in the game.) (Third: I was strafing him the first time itself when I found this spot at his side where he can't touch you; wait for him to attack and hit him when he's pulling himself back up.) Strafe around the demon and take a few hits, but then run away. It will charge at you, jump at you, or spit fireballs at you, just keep circling the arena. Repeat again and again. If you stay too close to it, it will either tail swing you, or it will roll over on top of you. Just keep going in quick, slash or blast, run away and let him chase you. He goes down fast. If the demon does manage to get to you, be careful of when he licks. When he licks you, you are stripped of your Armor, Rings, and Weapons. This makes the rest of the battle relatively harder.
- Mytha (Medusa): It's highly advised that before this fight, you should use a torch to burn the windmill which can be found next to the "Central Earthen Peak" bonfire. Spell users have the easiest time, just stay back and fling them. She will shoot soul arrows at you or throw her head, and it will explode, just keep strafing and rolling. For melee fighters, get in mid-range and make her miss her lunging halberd attacks, she is slow to recover, go in and get two slashes in, then run away. you can try to block her attacks, but she will recover before you can attack. Just keep at it in this pattern and watch out for her head bomb attack, and you are golden. If you use melee, another tactic is to try summoning Jester Thomas, whose sign can be found right outside the small tunnel with the fog gate. He can fling pyromancies at Mytha, dealing about ~500 damage per hit. Just tank her hits with a 100% physical defence shield, and you'll be fine. Use Charcoal Pine Resin for this fight if struggling.
- Royal Rat Vanguard: This fight can be confusing and annoying because the main rat will not appear until after you kill a few of the regular ones. An army of rats will attack you. I suggest a one-handed sweeping greatsword attack method. You can one shot multiple rats at once and keep safe. The room is littered with rat statues that will block your sweeps sometimes. Best tactic is to run to one corner of the room, slash a bunch of rats. Run to the other corner of the room, where it is semi clear of statues. Slash more rats. After about 10 kills, the boss bar shows up. There will be a rat that looks different from the others, with long hair on its back. He is the boss rat that you have to kill. Just go for him and you can kill him in a few hits. Use Charcoal Pine Resin for this fight if struggling.
- Royal Rat Authority: This fight may seem very intimidating, there are a few rats off in the distance and the boss is sleeping on a ledge at the other side of the room. After dispatching the rats run at the boss and go in between its legs, while always stay under him, attack its back legs. It is advised to not lock the camera. Also take note when he lowers his head as he will do a lunge attack, causing all your stamina to drain if blocked. Use a 100% physical defense shield and Charcoal Pine Resin if struggling.
Dark Souls 2 Area Walkthroughs
Crown of the Sunken King Walkthrough
Crown of the Old Iron King Walkthrough
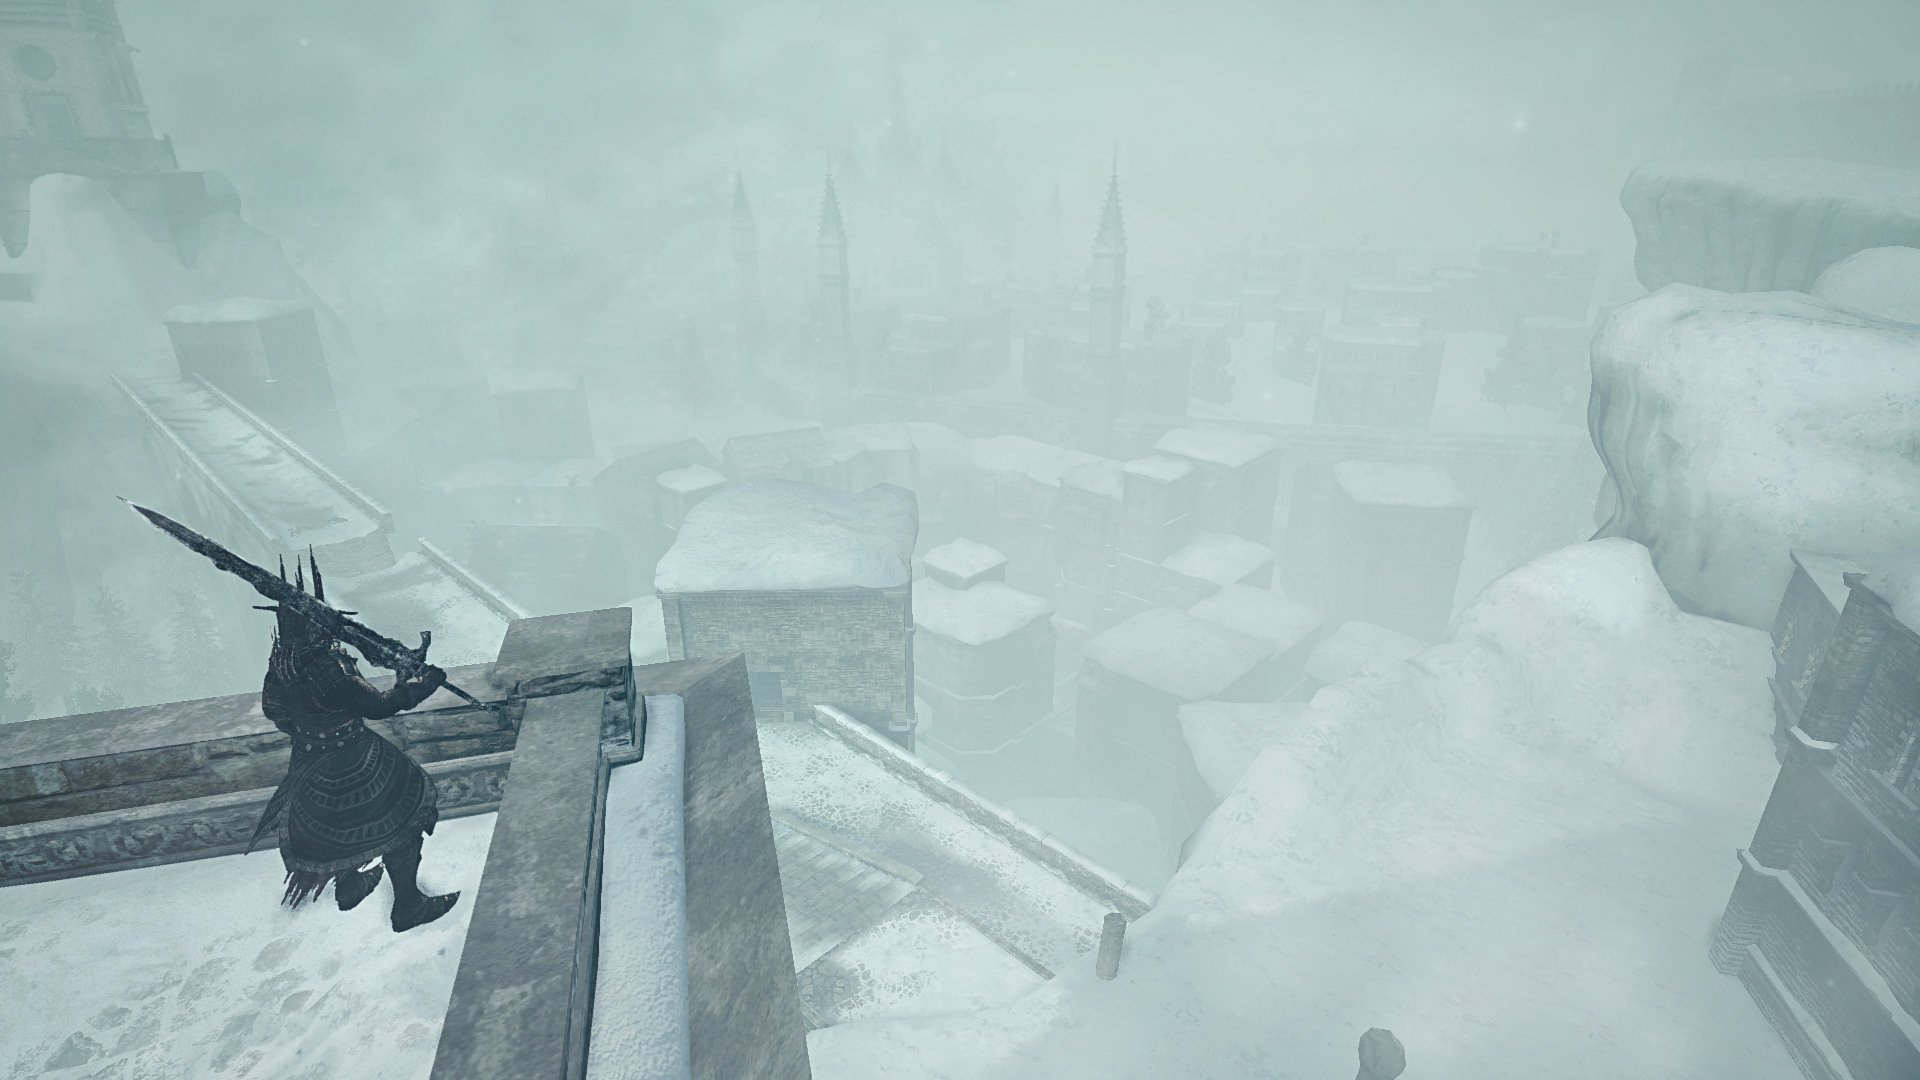
Crown of the Ivory King Walkthrough
 Anonymous
anyone playing on ps3 ???
add me, first time finishing the game... i need help with the covenants
psn Dubal_22
 Anonymous
 Anonymous
So, I just wanted to comment, right now the link for the guide for the iron keep does Not work. https://darksouls2.wiki.fextralife.com/The+Iron+Keep
It shows a 404 error. Could anyone help?
 Anonymous
Go to that river follow it till you get to leader go up that leader and meet old women se is seling some thiks ,she has that key for blacksmith ,you have to bye it

 Anonymous
i just got my chanelers trident just using rusted coin for a bit of luck and trade the small smooth and silky stone to dyna and tillo

 Anonymous
 Anonymous
You can find a small smooth and silky stone if you turn left and go down.




"If you fall off the platform, the other two will enter the fight and they will kick your ass." this dude just @ing me so hard
1
+10
-1