General Information
- Previous: Undead Crypt through Shaded Woods
- Next: Dragon Aerie
- Recommended Levels: 100 to 110
- Boss: Guardian Dragon
- Bonfires: Foregarden, Ritual Site
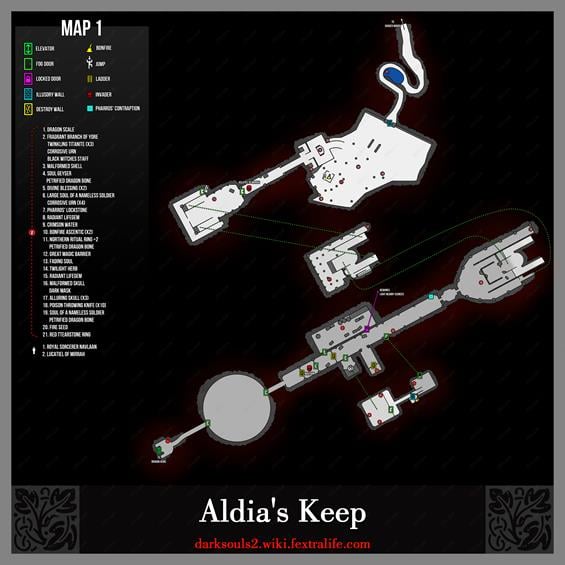
Aldia's Keep Map
NPCs in Aldia's Keep
Items
Consumables- Soul of a Nameless Soldier
- Petrified Dragon Bone x3
- Poison Throwing Knife x15
- Alluring Skull x3
- Fire Seed
- Radiant Lifegem x2
- Twilight Herb
- Fading Soul
- Crimson Water
- Bonfire Ascetic x3
- Great Magic Barrier
- Pharros' Lockstone
- Large Soul of a Nameless Soldier
- Corrosive Urn
- Aldia Key
- Soul Geyser
- Soul of a Proud Knight
- Large Soul of a Brave Warrior
- Malformed Shell
- Malformed Skull
- Wilted Dusk Herb x2
- Elizabeth Mushroom x2
Enemies
- Prowler Hound (Petrification)
- Ogre
- Basilisk
- Great Basilisk
- Dragon Acolyte
- Poison Brumer
- Mirror Spirits
Boss
NPC Summons
- Aslatiel of Mirrah (Brother of Lucatiel, Dark Spirit the one she recounts as "lost" to this land, not her herself.)
- Painting Guardian (NG+ only)
- Forlorn
Notes
- Dragon Acolytes can be farmed for Petrified Dragon Bones. NG and NG+ both have good drop rate.
Aldia's Keep Walkthrough
From the Gates
As you enter through the Shaded Woods doors, by wearing the King's Ring you acquired in the Undead Crypt, on left, near a tree, is a corpse with Soul of a Nameless Soldier and Petrified Dragon Bone. In a corner to the right of the stairs that lead further into the are, there is a corpse with Fire Seed. There is a roaming pack of Prowler Hounds in the tall grass that inflict bleed and petrification. Another corpse, closer to the middle of the tall grass has 10x Poison Throwing Knife, with a corpse visible a few feet away holding 3x Alluring Skull . If you follow the bridge to the left you come across a Mimic that contains a Malformed Skull and Dark Mask.
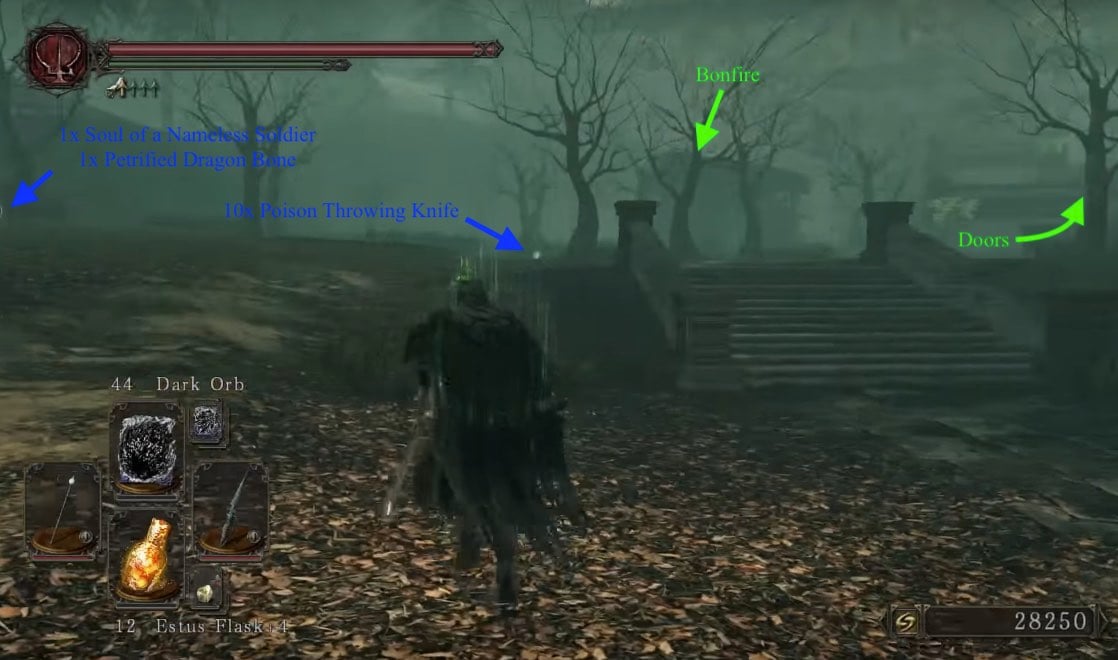
In a little wooden hut nearby, is the Foregarden bonfire. You may meet Lucatiel of Mirrah here, if you kept her alive during three earlier boss fights, she will reward you with her sword and armor: Mirrah Greatsword, Lucatiel's Set.
Brother from another Mirrah
Go up the stairs and drop into the fountain to loot a corpse with a Radiant Lifegem. Continue up the stairs and go the left corner of the building’s doorway. Loot the corpse with Twilight Herb x1. Walk through the building triggers the invasion of the black phantom, Aslatiel of Mirrah.
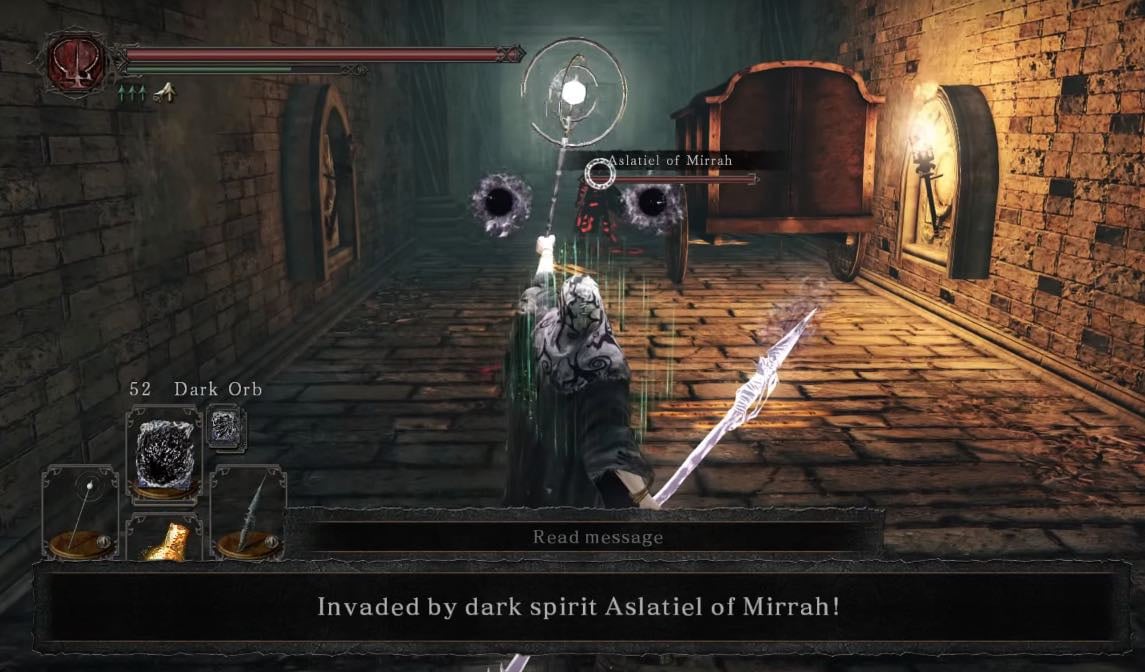
After defeating him, the moving carriage next to you holds a Basilisk. You can lure an Ogre (found in the next room) over to break it, and it does not reset until NG+, or until you have burnt a Bonfire Ascetic. Although, this is not recommended, as invaders can use this to annoy the host -or if that works in your favour, go for it.
Dead Undead Dragon Hall
Upon entering you are greeted by an impressive and imposing dragon’s skeleton, that doesn't not attack the player unless all four sconces in the area are lit; lighting each sconce summons the Forlorn invader (Note: these does NOT count as an invasion and do not count towards unlocking the Forlorn Set or Weapons for Straid. They are compareable to the Insolent Spirits). We will come across the necessary sconces while exploring the area, so for now, loot the corpse right in front of the dragon skeleton for a Fading Soul. After the player lights all four sconces, and returns to the Skeleton Dragon, it will lunge forward. Run out of the room as soon as you see him move, and after his head lunge, he will die and drop Aldia's Key.
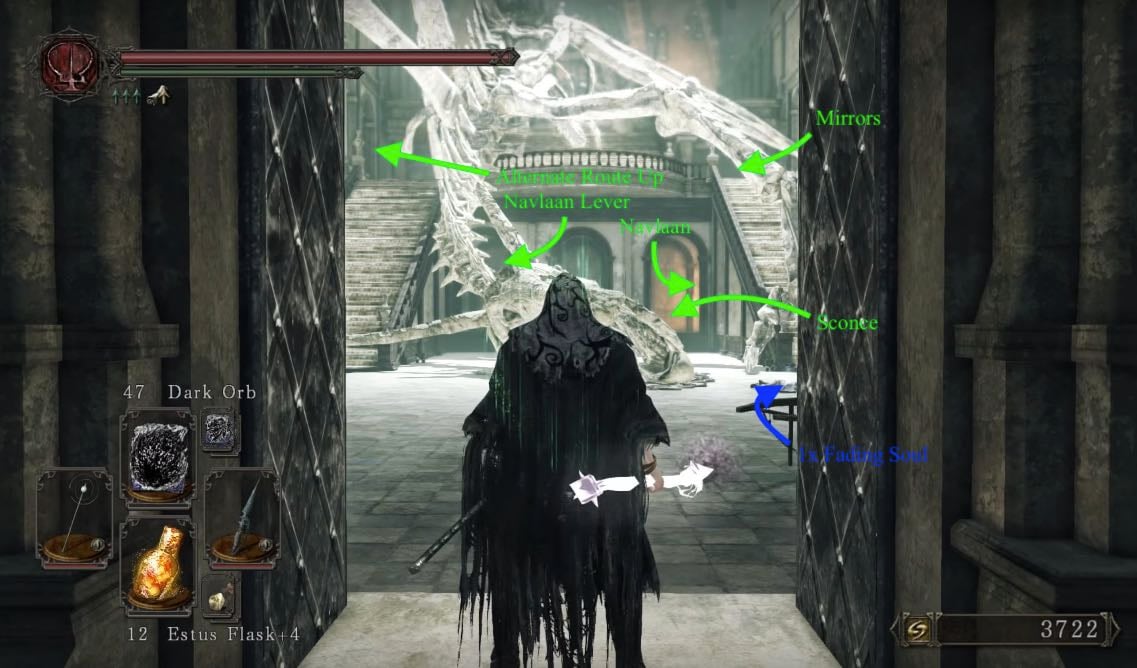
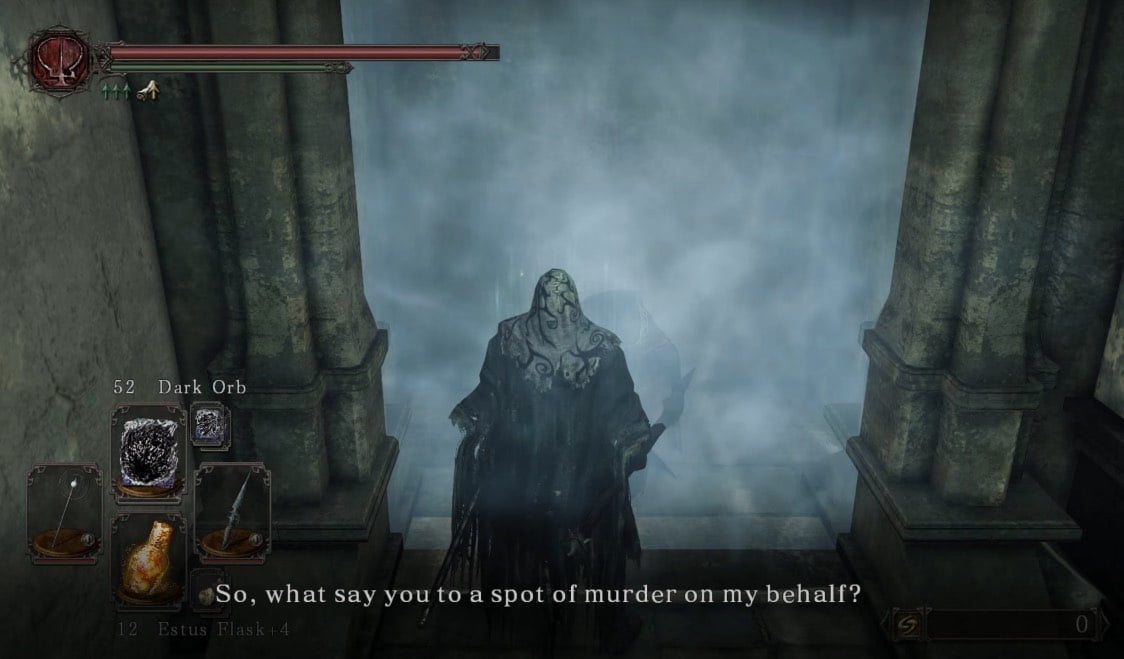
Walk straight ahead past the skeleton's skull will lead us to the first sconce and further down to a branching path. Following the way to the right, we will end up at a magical barrier, behind which you will find Royal Sorcerer Navlaan. If you talk to him while being human, he will seem to be frightened by something and tell you to leave him alone, as nothing good will come from spending time with him. If you are hollow instead, he will show his other personality, that of being an assassin (and the reason why he locked himself in here). If you want to do his side quest, do NOT free him, more details about his questiline can be found on his wiki page. If you still want to free him, you will find the lever on the left of the 3 archways, the way being filled with messages to back of and to not pull the lever. Beware though, that freeing him will cause his assassin-self to invade you in different places. He also acts as an merchant, either by releasing him (only a merchant while in human form) or by completing his questline (only a merchant while hollowed).
Mirror, Mirror...Mirror
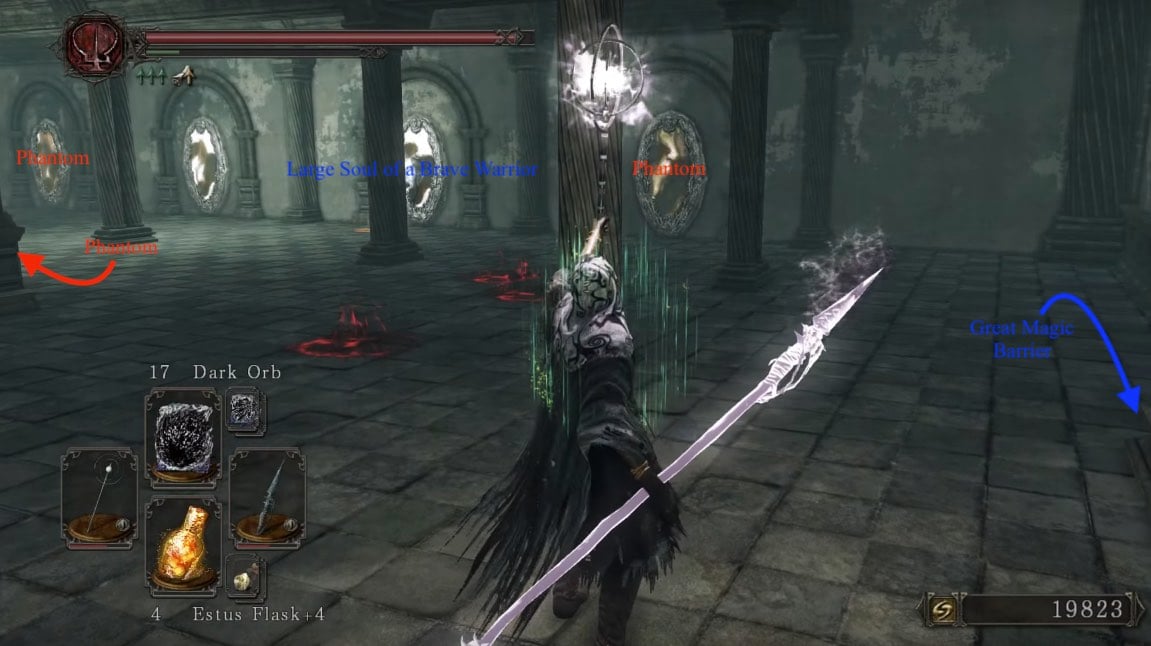
After talking with our friend with the split personality, go up the stairs then head right, ignoring the stairs to your left momentarily. Once you enter this area with the mirrors ahead, do a U-turn to your right and you will first encounter a Red Crystal Lizard, and a chest containing the Great Magic Barrier, at the end. Go back down the hallway and you walk into a room of mirrors. Three of which will break and release a Looking Glass Varlet each, out of the mirrors. One of the mirrors in the middle contain a body holding a Large Soul of a Brave Warrior. A corpse in this room holds a Northern Ritual Ring +2 and a Petrified Dragon Bone. The chest in this area contains a Brightbug. On the left of the room, near to the dragon skeleton, there will also be the summon sign for Sellsword Luet.
Free the Beasts
Return to the stairs we ignored earlier and head up them to find a petrified Ogre, who you can revive it with a Fragrant Branch of Yore. You can lure him to the carriages to break them, releasing the Basilisks inside. After you have finished taking your Ogre for a walk, you can kill him to make him drop a Dragon Acolyte Mask. Beware though, that this Ogre does not respawn. Take the next flight of stairs up to find yourself in the next section with the caged (and respawning) Giant Basilisk.
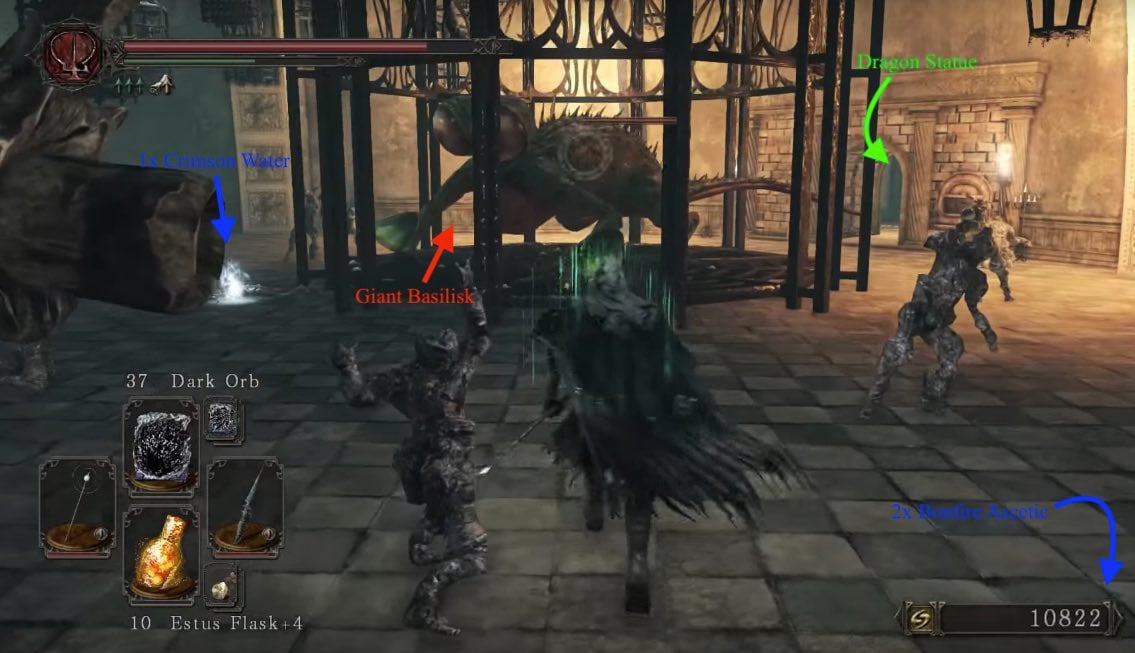
Alternatively, you can safe yourself the Fragrant Branch of Yore and take the staircase to the left instead. You will end up at the same section with the caged Great Basilisk, surrounded by petrified people. Attacking it makes it aggro and possibly destroy the cage. To alleviate the risk, take care of it with range from a distance. A corpse in front of where it’s cage was holds a Crimson Water. Head to the right side of cage to find a hallway that leads to an iron chest with 2x Bonfire Ascetic as well as another sconce on the way to the chest. Return to where the cage of the Basilisk, and walk through into the next room.
First a Skeleton, Now a Statue
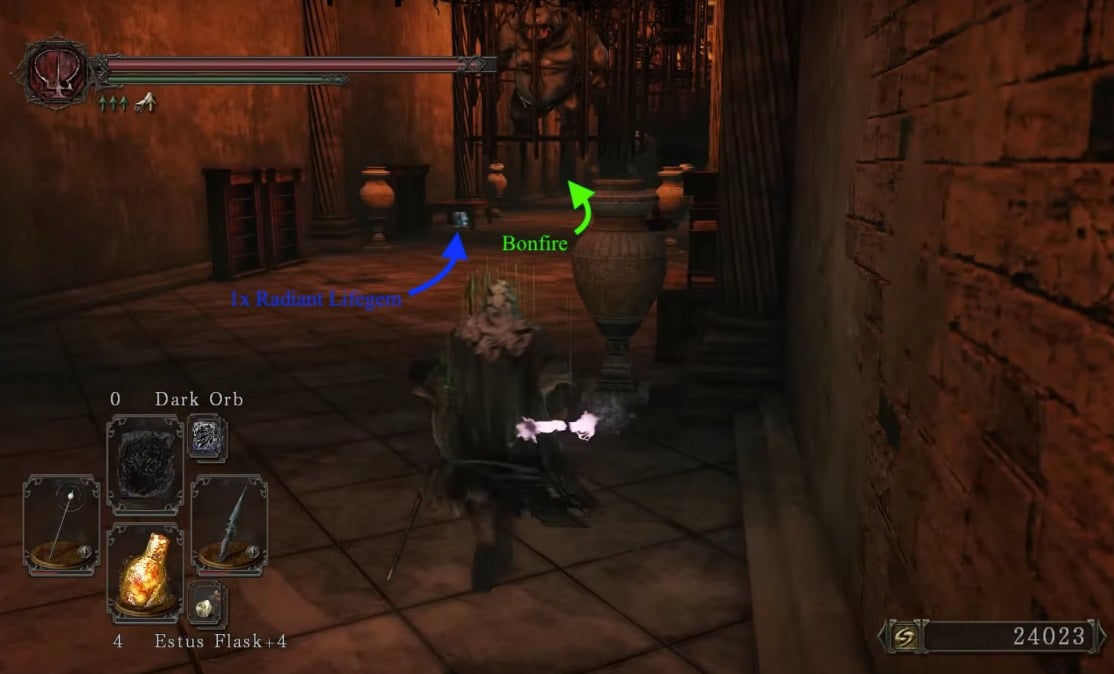
A statue of a dragon greets you in the center of the room and behind it a shut door. Pull the lever dangling from its mouth to open the door into the next room. This also shuts the door you came in through so if you need to return back through, pull the lever again. In the next room there is a Pharros contraption wall and a corpse under a table, with a Radiant Lifegem. Using the Pharros Lockstone here greatly illuminates the area, giving you better visibility for the ambush ahead. Having the hallway illuminated also lets you take a better looked on the different enemies trapped in the cages above you.
Shrek 3
At the end of this hallway, an Ogre trapped in a suspended cage can be seen. You can walk past most caged enemies in this area. There are two Dragon Acolyte lurking behind the paintings, the paintings can be shot down with arrows, making the Acolytes come out of their hiding spots. Near the second Acolyte, there is a corpse under a table, which you can pick up to receive a Radiant Lifegem. The door on the left close by will lead to laboratory.
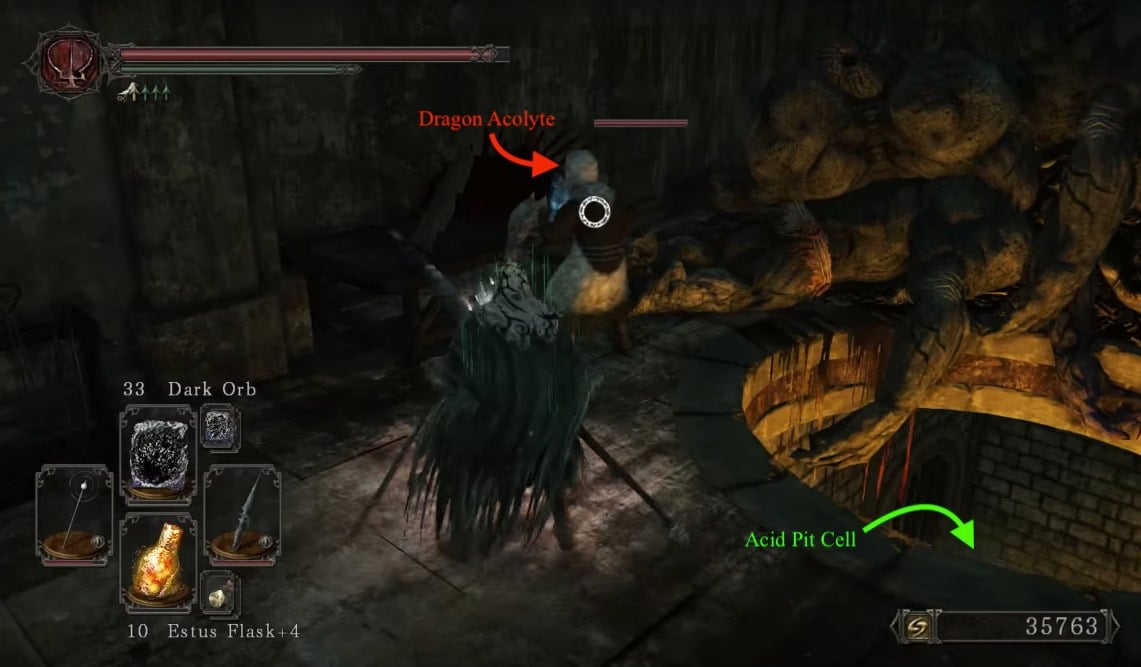
Destroying the bookcases on the right after entering the room will reveal a Pharros' Lockstone. At the middle of going down the stairs, there is an illusory wall to the left, revealing the Ritual Site Bonfire. Going all the way down lets us reach the third brazier and an acid pool with 2 Swollen Mongrel. After taking care of them, don't forget to unequip all items, then dive in to have a little acid bath (as a refresher, acid does not hurt you, but does great damage to any equipment you wear). Inside the pool ,you will find (from left to right): a Large Soul of a Nameless Soldier and 4xCorrosive Urn; 2x Divine Blessing; and Soul Geyser and a Petrified Dragon Bone. After taking all the items, remember to reequip everything and head back to the hallway.
Continuing to the left, we will come across a locked door on the right side. This locked door can be opened later with the key we get from the Dragon Skeleton once all 4 braziers are lit. Further down the hallway there is a caged Ogre blocking the way, it is recommended to take care of him now, since another Ogre will breach through the big iron door behind him and has the potential to free his Ogre friend. On the left there are 3 petrified corpses, the final brazier, as well as a pair of big, locked iron doors. These can be smashed open by one of the Ogres, so lure one here and let him open the door for you Obelix' style (any comparison with Obelix and an Ogre not intended). Behind the now opened gates lies a chest containing a Malformed Shell. Further down the hall, the door on the left opens to a little butcher room with another Acolyte. The hole in this room leads back into the acid pool form before.
Journey to the Dragon Boss
Going through the doors the Ogre breached from leads to a room with another closed door on the right (leading to the same room as the door before) and an iron door in the front. Going through these iron doors, we are entering a less illuminated room with an item to the right and another door in front of us. Trying to get closer to the door or item will make another Ogre breach through said doors. After taking care of him, take the Simpleton's Spice and Twilight Herb from the corpse. Through the hole the Ogre made, we can already reach the Fog Gate to the boss, but lets take a little detour first.
Since we lit up all the sconces now, head back to Dragon Skeleton. Be wary though, it will try to attack you, after the one attack though, it will crumble and leave the Aldia's Key behind. With this key, we can now open the two locked doors in the hallway.
This room has four Dragon Acolytes, a caged Gargoyle, three chests (which are all Mimics) and an Aldia Warlock, and a lever that allows you to drop all the hanging cages from the hall before. After taking care of the Acolytes and the Warlock, take the Soul of a Proud Knight from the table right across the door you entered this room, and a Large Soul of a Brave Warrior at the right corner at the very end of this room. The 3 Mimics here contain (in order from the first locked door to the second door): 2x Cracked Red Eye Orb; 1x Bonfire Ascetic; and 3x Wilted Dusk Herb.
If you use the lever to drop the cages, a Mimic holding a Fragrant Branch of Yore, another monster will drop 3x Twinkling Titanite. The Giant Poison Brumer will drop a Corrosive Urn, a further mimic will drop the Black Witch's Staff. Royal Sorcerer Navlaan dark spirit will also invade here if you freed him earlier.
Once you have done everything you want in this area, head through fog gate to fight the Guardian Dragon.
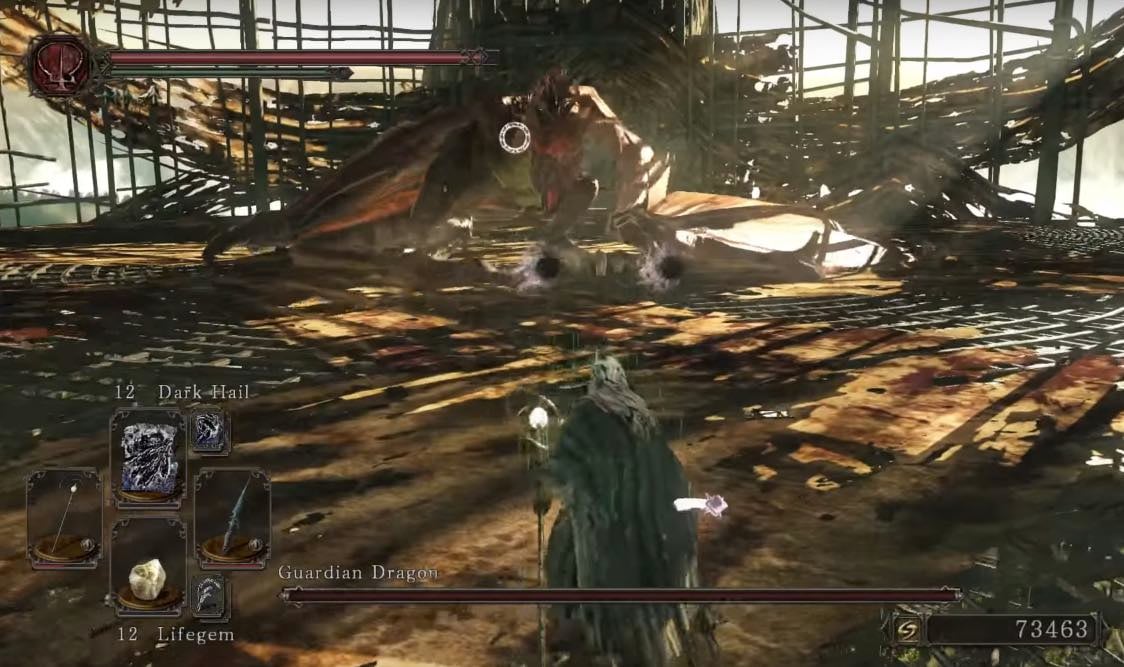
BOSS FIGHT: Guardian Dragon
After defeating the boss, exit the arena to pick up Dragon Scale from a corpse and take the elevator to Dragon Aerie.

